
Understanding PVC Patches
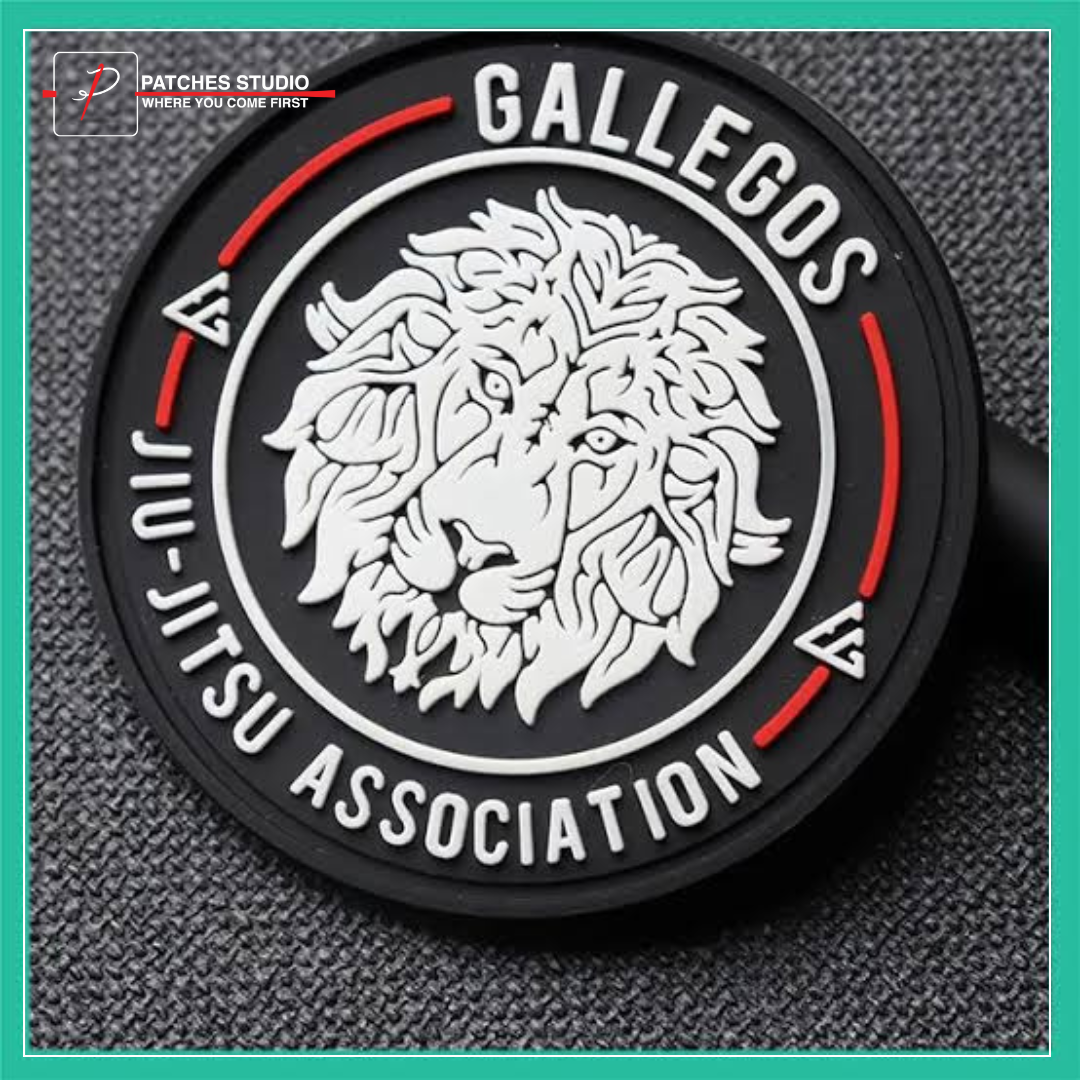
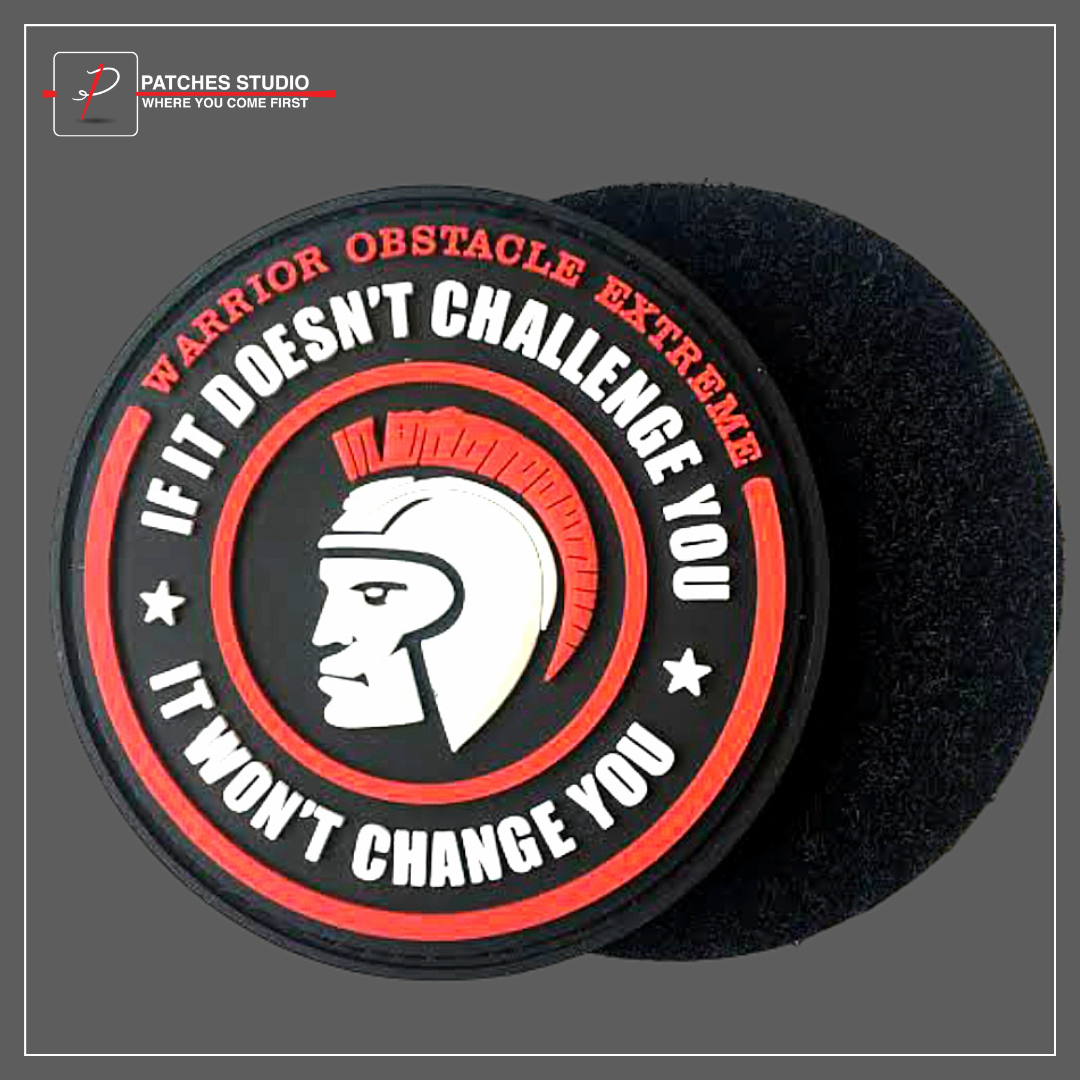
PVC patches, fashioned from Polyvinyl Chloride, offer a pliable yet resilient medium for creative expression. These patches can be molded into an array of shapes and sizes, boasting durability and waterproof properties ideal for outdoor use. Serving as a contemporary alternative to traditional embroidered patches, PVC patches allow for limitless color combinations and intricate designs, making them a favored choice for businesses and individuals alike.
Why PVC Patches are Popular?
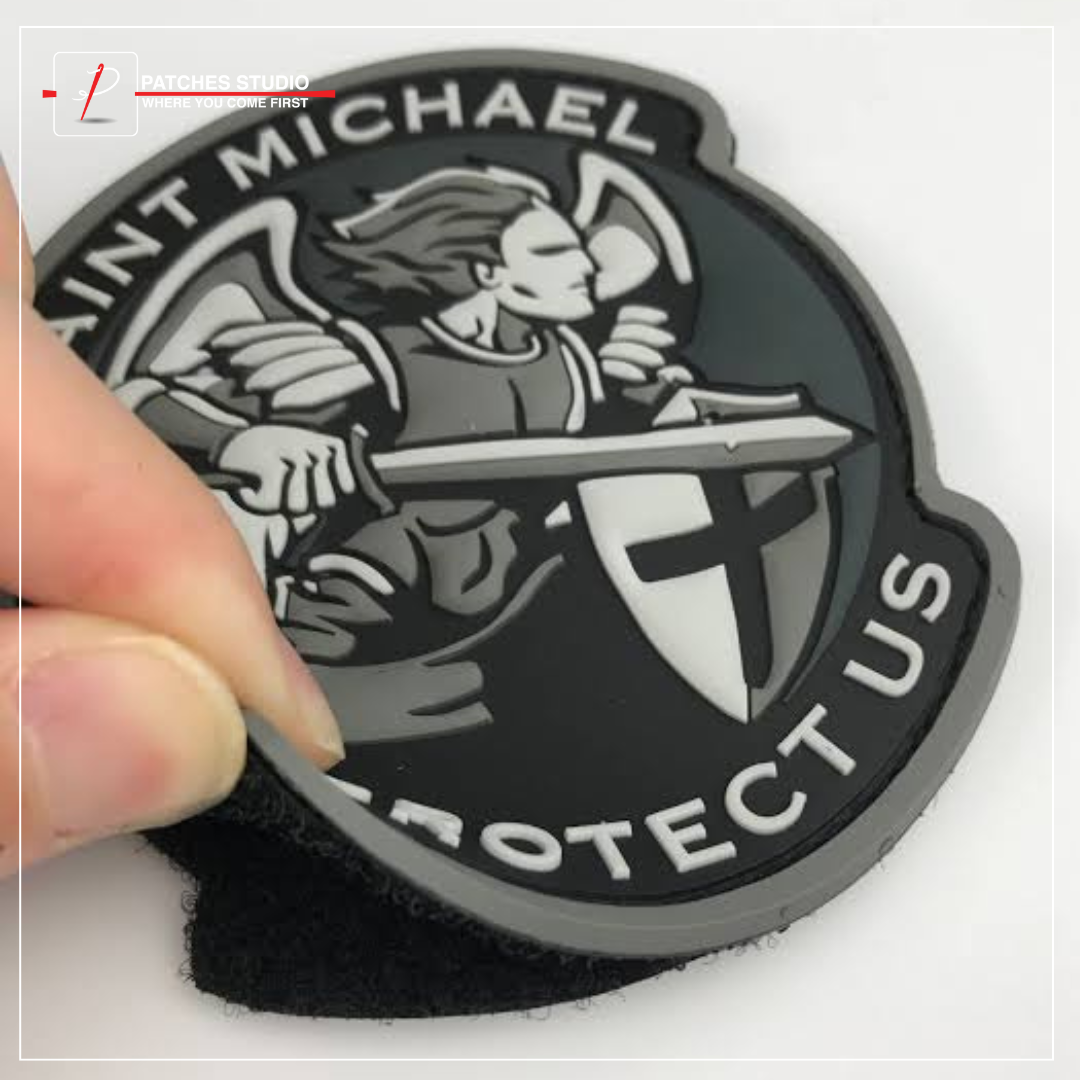
The surge in popularity of custom PVC patches can be attributed to their unrivaled durability and versatility. Resistant to cracking, peeling, and fading, PVC patches are well-suited for a myriad of applications across diverse industries, including military, medical, and beyond. Their enduring allure lies in their ability to withstand the elements while retaining vibrant colors, making them a staple in professional and personal realms alike.
Designing Your PVC Patch
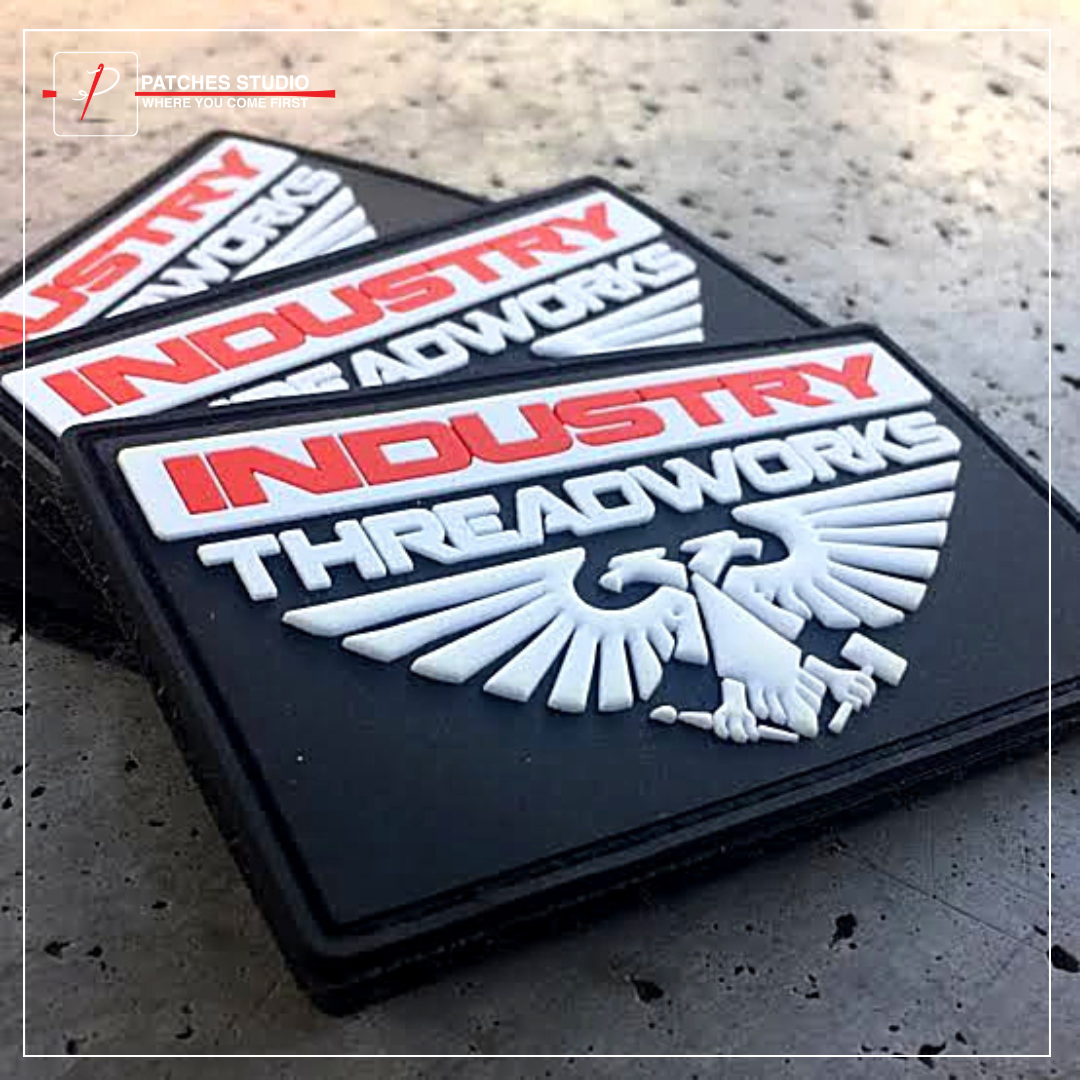
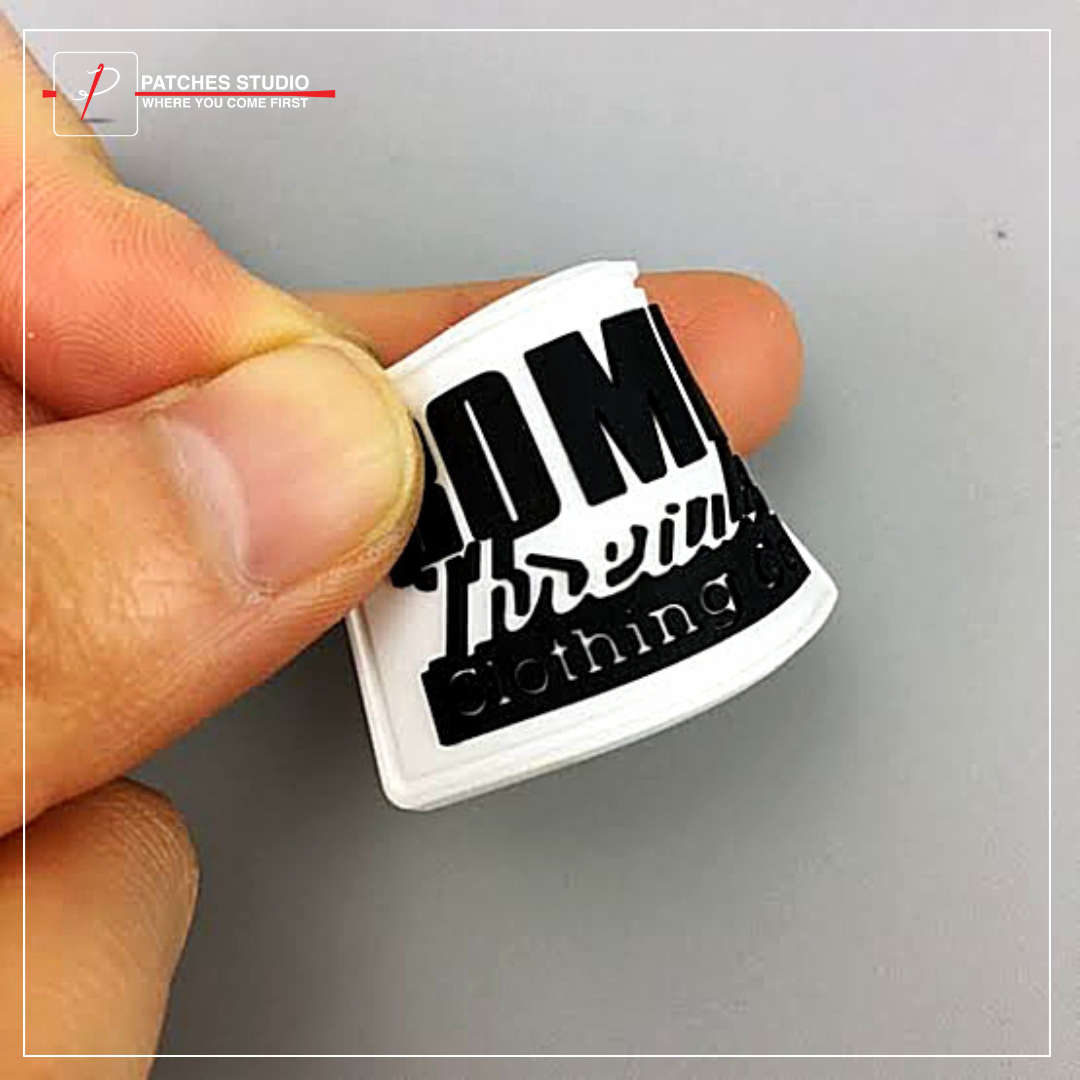
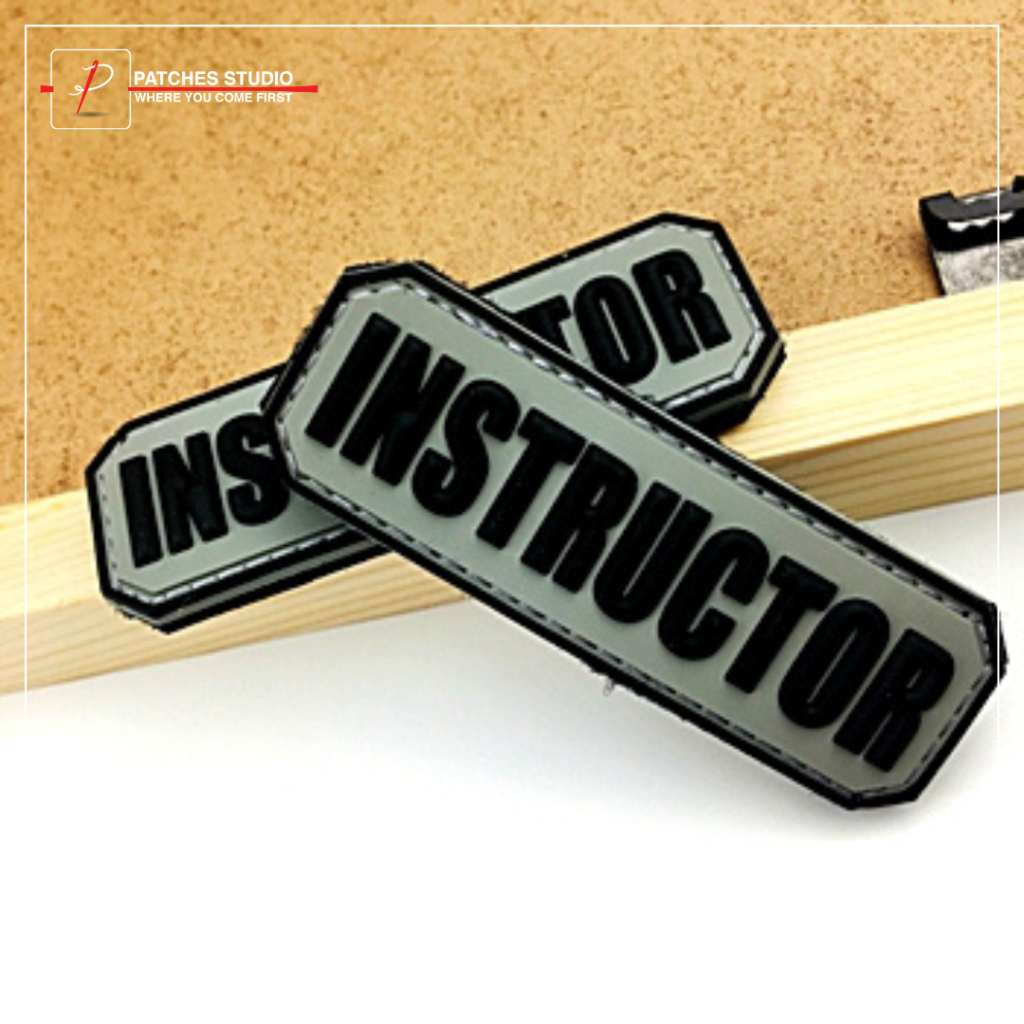
At the heart of PVC patch creation lies the essence of creativity. Whether crafting a corporate emblem or a personal insignia, the design process serves as a canvas for imagination to flourish. From selecting shapes and dimensions to choosing between 2D and 3D designs, every aspect contributes to the overall aesthetic appeal. Additionally, considerations such as color selection and backing options further enhance the customization possibilities, allowing for tailored creations that captivate the eye.
Crafting PVC Patches at Home
Unlocking the secrets of DIY PVC patch production from the comfort of your home is simpler than you may think. With the aid of online platforms, bringing your design to life is a seamless process. Beginning with a quote request, followed by the approval of digital mock-ups, each step is meticulously tailored to your specifications. The creation of a customized metal mold marks the inception of your PVC patch journey, paving the way for the pouring of liquid PVC and the application of backing materials. Upon completion, your bespoke PVC patches are ready for delivery, a testament to the artistry and craftsmanship imbued in every stitch.
Delving into the Creation Process
Creating PVC patches involves a series of intricate steps, each crucial to achieving the desired outcome. From conceptualizing the design to applying finishing touches, attention to detail is paramount.
1-Design Conceptualization
The journey begins with a spark of inspiration. Whether you’re envisioning a bold logo or a whimsical illustration, the design phase sets the tone for your PVC patch creation. Consider factors such as shape, size, and color palette, ensuring that your design reflects your vision with clarity and precision.
2-Mold Creation
With your design finalized, the next step is to bring it to life in three-dimensional form. This is achieved through the creation of a custom mold, meticulously crafted to capture every intricate detail of your design. Whether through 3D printing or traditional molding techniques, the mold serves as the foundation upon which your PVC patches will be forged.
3-PVC Material Preparation
Once the mold is prepared, it’s time to mix the PVC material. This involves combining PVC resin, plasticizer, and pigment in precise proportions to achieve the desired color and consistency. Thorough mixing is essential to ensure uniformity and quality in the final product.
Patch Casting
With the PVC material prepared, it’s time to pour it into the mold. Careful attention must be paid to ensure that the material fills the mold evenly, avoiding air bubbles and imperfections. Once poured, the PVC is left to cure, a process that may require heat application to achieve optimal hardness and durability.
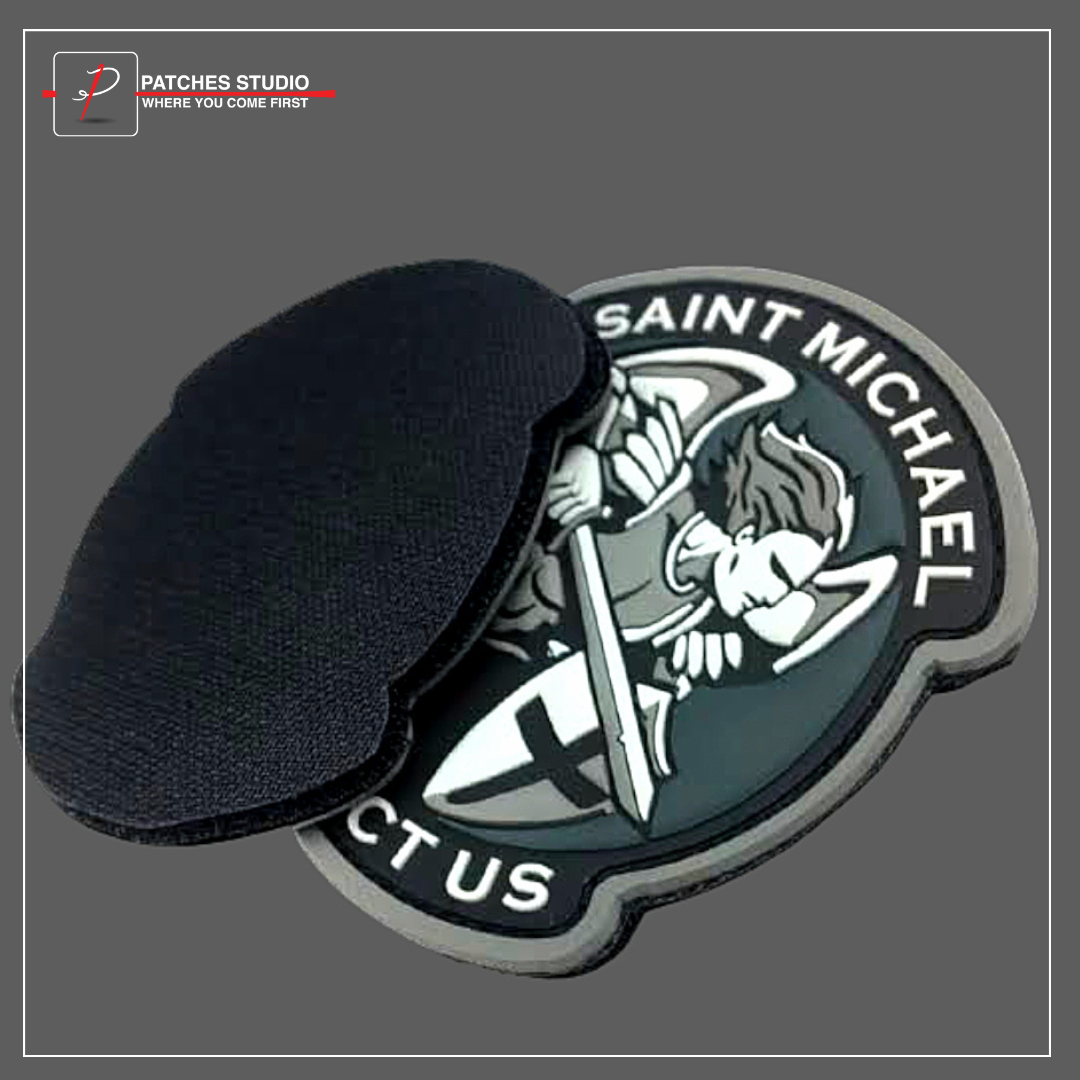
Finishing Touches
Once cured, the PVC patches are removed from the mold and inspected for quality. Any excess material is trimmed away, and additional details or embellishments may be added to enhance the patch’s appearance. Finally, the patches are prepared for attachment, whether through adhesive backing, sewing, or other methods, ready to adorn your favorite garments and accessories.
Conclusion
In the realm of PVC patch crafting, creativity knows no bounds. Whether you’re a seasoned artisan or a novice crafter, the process of bringing your designs to life offers endless opportunities for self-expression and customization. By following the steps outlined in this guide and embracing the spirit of experimentation, you’ll soon find yourself immersed in a world of PVC patch creation, where every stitch tells a story and every patch is a work of art.