


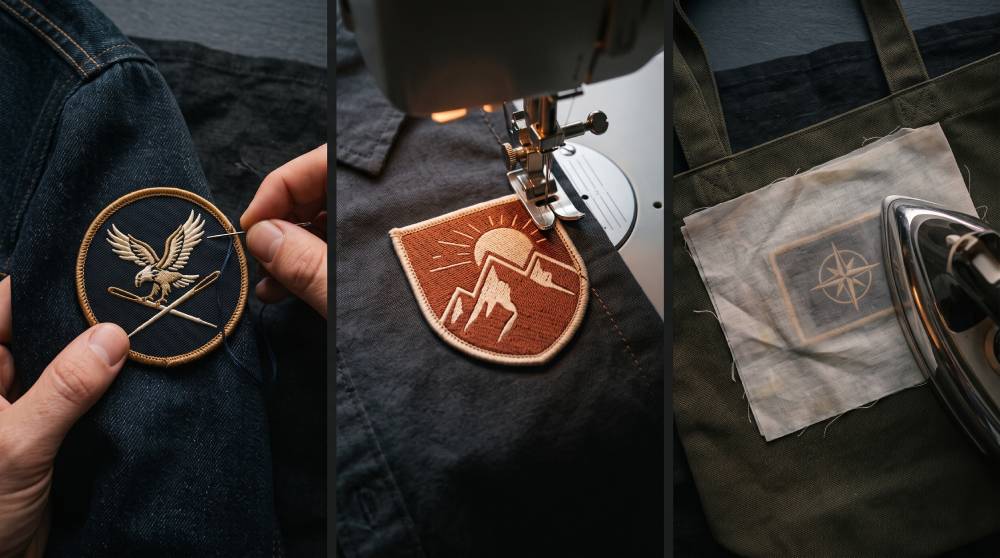
Sew on a patch properly, and it’ll outlast the jacket it’s sitting on. Do it badly, and the corners start curling after a couple of washes, and within a month it’s come off in the dryer.
To sew on a patch by hand, glue it in place, then whip stitch around the border about 1/8 inch (3 mm) in from the edge, stitching into every corner. On a flat panel you can open up, a machine straight stitch at the same distance is faster and holds harder. Iron-on adhesive alone will not survive regular washing.
I’ve spent years finishing patches before they ship, and I’ll go through all three methods below. I’ll also cover the part most tutorials skip, which is matching the method to your specific patch and fabric. That’s what really decides whether the patch stays put.
How to tell which patch type you have
Before you sew on a patch, check how it is built. The backing on the reverse side tells you most of what you need to know, and it decides which of the three methods will actually hold.
Turn the patch over before you do anything else. A fabric or twill back takes any method. A shiny plastic film means heat-seal adhesive, which positions the patch but will not keep it there. A hook or loop strip means you never stitch the garment at all. Moulded plastic or rubber rules out an iron completely.
| Patch type | How to identify it | Best attachment method | Notes |
| Standard embroidered (no backing) | Fabric or twill back, slightly rough | Hand or machine stitch | The most forgiving type; takes either method well |
| Iron-on (heat-seal) | Shiny, slightly cloudy plastic film on the back | Iron first, then stitch | Adhesive holds for positioning; stitching makes it permanent |
| Velcro-backed | Hook or loop strip sewn to the reverse | No sewing to garment | Sew the opposite strip to the garment instead |
| PVC / rubber | Flexible molded plastic, no fabric weave | Machine stitch or sew to a fabric mount | Will not take an iron; use a longer stitch and a sharp needle |
| Woven (not embroidered) | Flat surface, fine detail, no raised stitching | Hand stitch | Thinner and more delicate; a machine foot can drag the surface |
| Chenille / varsity | Fuzzy, towel-like texture | Hand stitch | The pile hides stitches well, so neatness matters less |
Before you start: check the edge of your patch
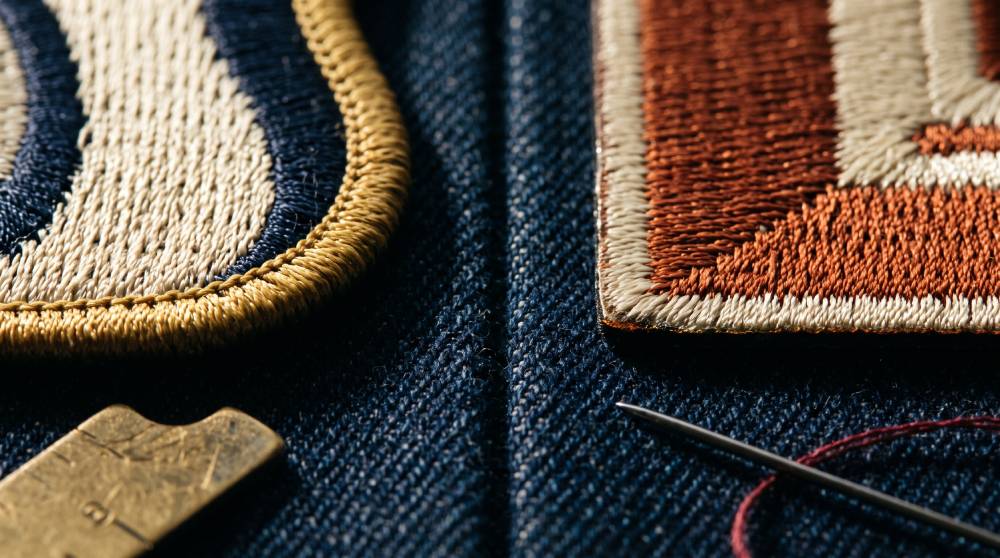
Before you sew anything, look at the edge of the patch. Most classic embroidered patches have a merrowed border, which is a thick raised rim you can stitch right along the inner side of, so it works as a built-in guide. Laser-cut patches are different. The edge is flat, and there’s nothing to follow, so measure 1/8 inch (3 mm) in from the edge and keep that distance all the way around. A wavy stitch line shows up much more clearly against a flat edge, so you’ll notice a drift early.
Method 1: How to sew on a patch by hand
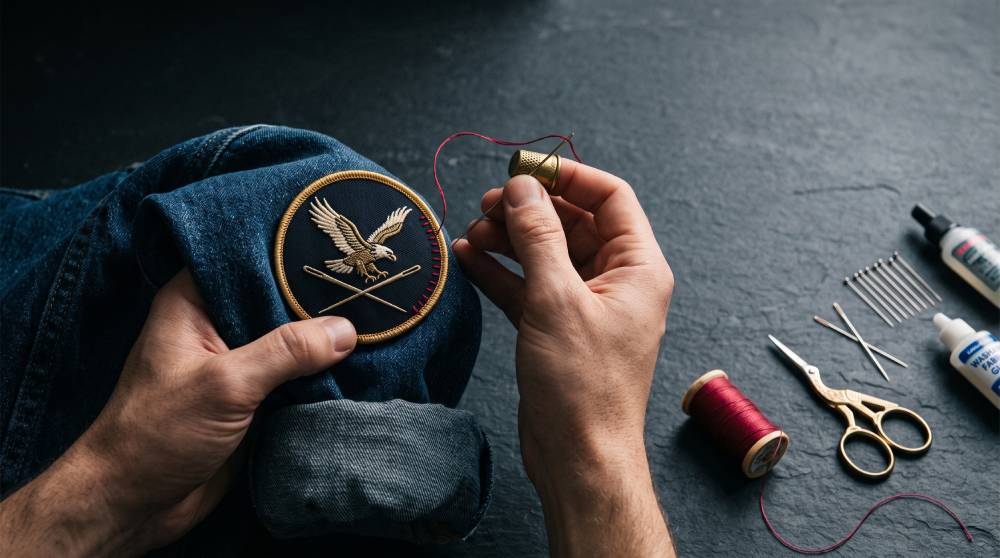
Hand sewing is the slowest option, but it’s the only one that works on sleeves, hats, cuffs, and other areas that can’t lie flat under a machine. It also gives you precise control over placement, which counts on uniforms where insignia positions are set.
What you’ll need
- Needle: a sharps size 7 or 8 for a cotton, or a heavier embroidery or leather needle for denim and canvas.
- All-purpose polyester thread.
- Small scissors.
- Straight pins, or a few dots of washable fabric glue, to hold the patch in place.
If you’re working on denim, use a thimble. You’ll be pushing the needle through four layers of fabric plus the twill backing, and it becomes hard on the fingers quickly.
Choosing your stitch
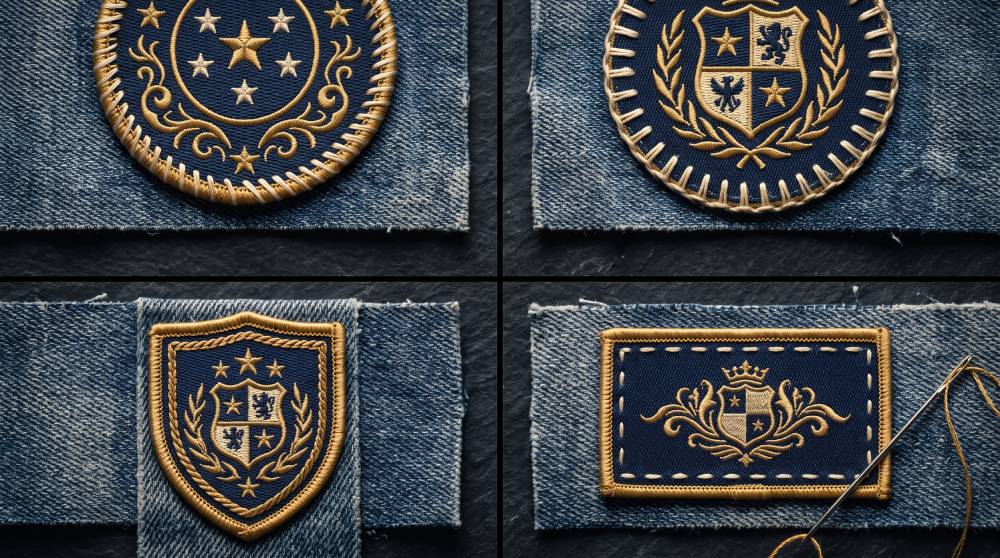
The stitch you pick affects how long the patch holds and how noticeable your sewing is. It’s the decision that matters most here, and it’s the one most guides rush past.
| Stitch | Strength | Visibility | Difficulty | Best for |
| Whip stitch | High | Low — angled stitches tuck into the body | Easy | Most embroidered patches; the default choice |
| Blanket stitch | High | High — deliberately decorative | Moderate | Visible contrast edges, wool, felt, heritage-style work |
| Backstitch | Very high | Moderate — a solid unbroken line | Moderate | Heavy use items: work jackets, bags, biker vests |
| Running stitch | Low | Low | Very easy | Temporary placement or light decorative patches only |
Put the garment on before you mark anything. Patches sit lower than people expect once the fabric hangs properly.
Glue the patch down — four small dots, ten minutes to set. Pins shift, distort the fabric, and get in the way as you work around the edge.
Then slide your hand inside the garment and keep it there. Sewing a sleeve shut is the mistake almost everyone makes once, and there’s no fix except unpicking the whole thing.
Thread about 18 inches (45 cm), single strand, matched to the patch border rather than the shirt. Knot it, come up from underneath so the knot hides.
Work around the edge, leaving 1/8 inch (3 mm) between stitches. Even spacing looks like good work. Tiny stitches don’t, especially if they wander.
Stitch directly into every corner. Corners take the stress, and corners are where peeling starts. Finish with two or three stitches stacked inside the garment, then run the needle under a few existing stitches before cutting. One knot isn’t enough.
Method 2: How to sew on a patch with a sewing machine
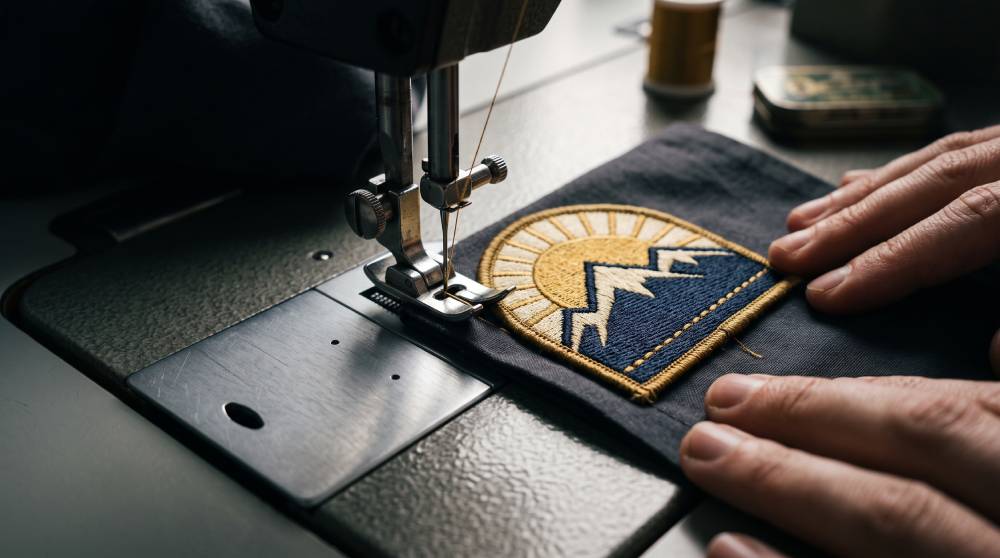
A sewing machine is the better option on flat garments with an open panel. Shirt front, tote bag, vest back before assembly. A few minutes instead of an hour, and the line comes out straighter than most people manage by hand.
Setup matters more than technique here:
- Needle: a universal 80/12 for cotton shirts; a 90/14 or 100/16 denim needle for jeans and work jackets — the same ranges in the SCHMETZ needle selection FAQ. A blunt needle will skip stitches over the dense embroidery of a patch border.
- Thread: all-purpose polyester, top and bobbin. Match the top thread to the patch border and the bobbin thread to the garment interior.
- Stitch length: 1/8 inch (3 mm). Shorter stitches perforate the patch edge; longer ones leave it loose.
- Foot: a standard presser foot is fine for most work. A walking foot helps on thick or layered material, and a Teflon foot stops drag on PVC and coated fabrics.
Once the machine is set up, sew it on:
- Glue or baste the patch down first. Pins will not survive contact with the presser foot.
- Start with three or four backstitches to lock the line.
- Keep the stitching slow, about 1/8 inch (3 mm) inside the edge.
- At corners, leave the needle down, lift the foot, then turn the fabric. On curves you’ll be doing that a lot, in small turns — pushing the fabric around a bend in one go leaves the stitches uneven.
- Finish with three or four backstitches over the top.
A machine can’t reach a closed sleeve, a hat, or a small pocket, and that rules it out for a lot of jobs. If the patch is going anywhere tubular, the machine is not an option unless your model has a free arm narrow enough to fit, and even then the fit is often tight.
Method 3: How to sew on an iron-on patch (and why you should)
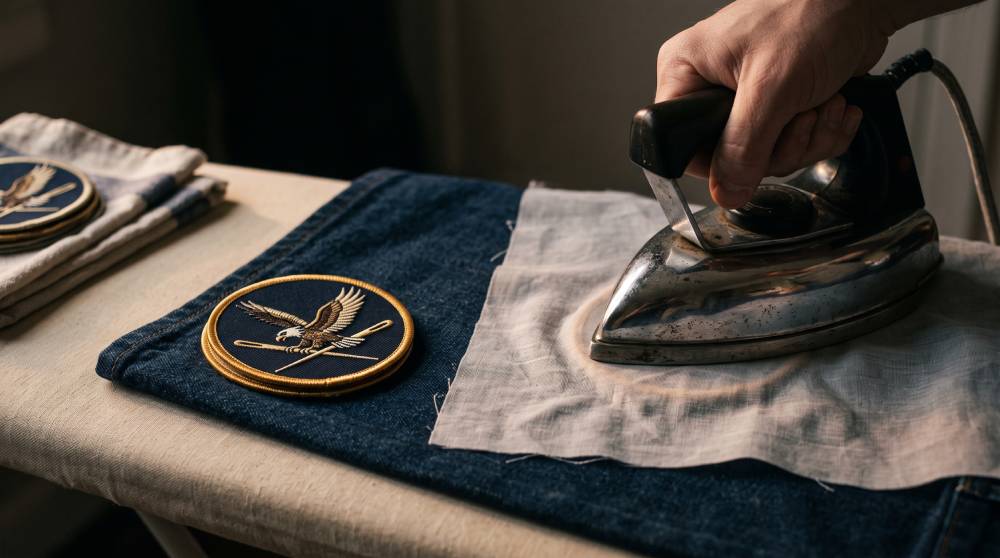
Heat-seal backing is a positioning aid. Treated as a permanent attachment, it typically survives somewhere between five and fifteen wash cycles before the edges begin to lift — faster on fleece, waterproof shells, and anything with a surface treatment, because the adhesive has nothing to bond into.
Set the iron to the highest setting the garment allows, with steam switched off. Moisture prevents the adhesive from bonding.
- Place the patch and cover it with a thin cotton pressing cloth.
- Press down firmly for around 30 seconds without moving the iron.
- Turn the garment inside out and press the reverse for a further 15 seconds.
- Let it cool completely before touching it. The bond forms as it cools, not under the heat.
Once it’s tacked down, sew the patch on around the border using either of the methods above. The glue keeps the patch from sliding around while you sew, so if you’re new to this, it’s the easiest of the three routes.
One warning: don’t iron PVC, rubber, or leather patches. Nylon and vinyl can be touchy too, since a hot iron may leave them shiny or wavy, and sometimes they stick to the plate. Printed designs can smear as well. Not sure about a fabric? Try a hidden spot first, or lay a thin cloth over it before you press.
Which method suits your garment?
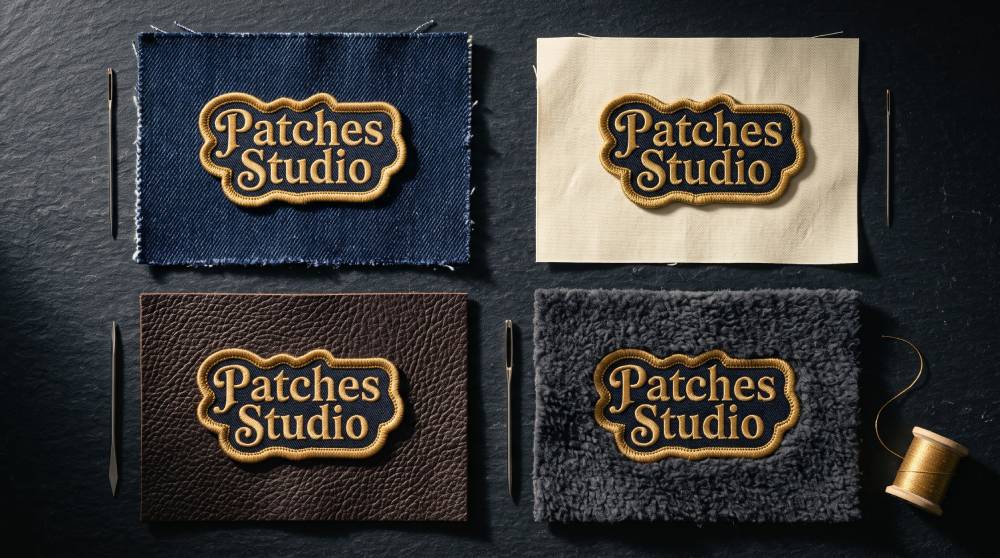
Before you sew on a patch, look at the fabric first. A thin cotton tee and a heavy canvas jacket need very different needles and thread, and on something really thick, like leather or a padded coat, hand sewing may not be realistic at all.
On thin or stretchy material, a stabilizer behind the patch is what stops it puckering — and the stabilizer you pick depends on the fabric more than anything else.
| Garment | Needle | Thread | Recommended stitch | Watch out for |
| Cotton shirt | 80/12 universal or sharps 8 | All-purpose polyester | Whip stitch | Thin fabric puckers — use a stabilizer behind the patch |
| Denim jacket or jeans | 100/16 denim | Heavy-duty polyester | Backstitch or machine straight stitch | Seams are too thick to cross; work around them |
| Leather vest | Leather needle | Bonded nylon | Backstitch, hand only | Every hole is permanent; mark placement before piercing |
| Canvas work jacket | 90/14 | Heavy-duty polyester | Machine straight stitch | Stiff material fights hand stitching |
| Baseball hat or cap | Sharps 7 | All-purpose polyester | Whip stitch, hand only | Curved surface; never machine-stitch |
| Fleece or knit | Ballpoint 80/12 | All-purpose polyester | Whip stitch, loose tension | Stretches out of shape — stabilizer is essential |
| Nylon or shell jacket | Microtex 70/10 | All-purpose polyester | Hand stitch | No iron, and holes will not close |
Sewing a patch over a hole
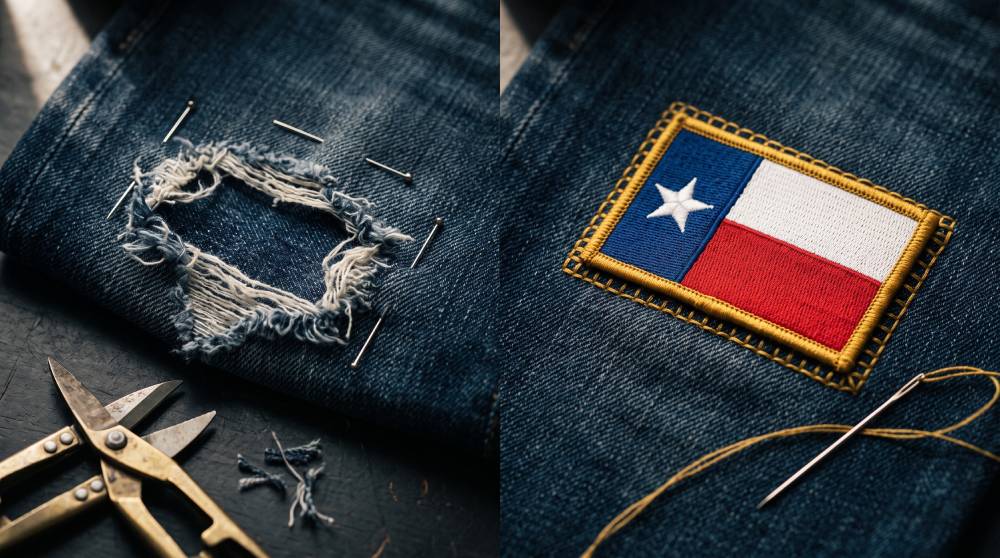
A repair isn’t a decoration. It has to hold weight, and if you skip the prep, it’ll come loose within a few washes.
- Trim the loose threads around the hole until you hit solid fabric.
- Cut a scrap of similar weight about 3/4 inch (2 cm) bigger than the hole on every side.
- Pin or iron that scrap to the inside of the garment.
- Backstitch the patch on from the outside — a whip stitch tends to pull over a gap.
- Keep at least 1/2 inch (1 cm) of the patch sitting on solid fabric, all the way around.
Why patches fall off
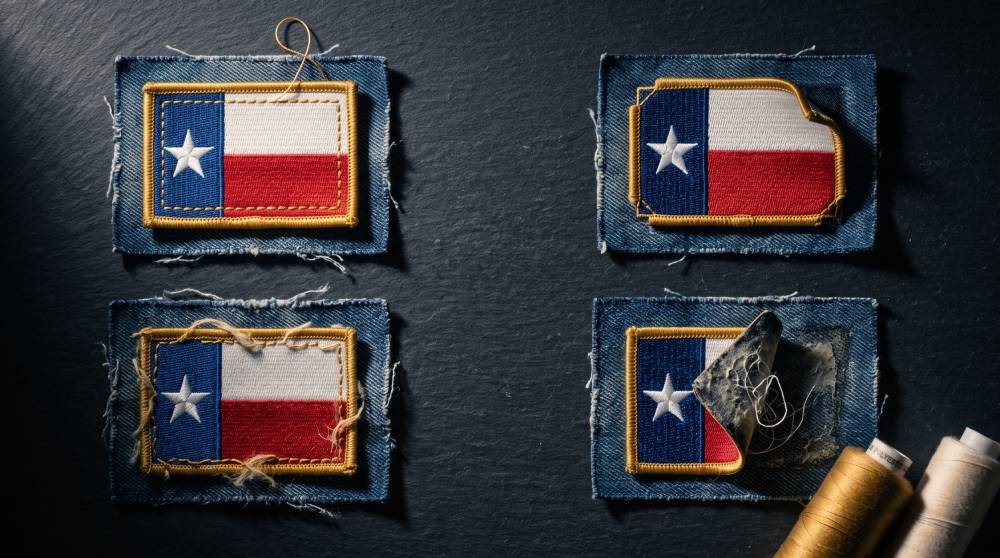
The jackets that come back to us fail for the same few reasons.
- Stitching too far from the edge. The loose rim catches on everything.
- Skipping the corners. Peeling almost always starts at a corner.
- Cotton thread on a garment that gets washed. Cotton and polyester differ in abrasion resistance and water absorption, not raw strength — cotton swells, shrinks, and loosens the stitch line a little with every cycle.
- Relying on iron-on adhesive alone, particularly on outerwear.
- Machine-washing hot too soon. Give a newly applied patch one gentle cycle before returning the garment to normal use.
Wash patched garments inside out, on cold, and air dry where possible. High dryer heat is the single harshest thing a patch encounters.
Attaching patches in volume
Hand-stitching one patch is a pleasant hour. Hand-stitching twenty — a scout troop’s badges, a club’s vests, a team’s uniforms — is a weekend.
That depends on how many. One or two is an evening’s work. Twenty scout badges or a club’s worth of vests is a weekend. If the order has not been placed yet, specify the backing in production: Velcro and sew-on-ready finishes cut the work on your end considerably.
Request a free custom patch quote if you need patches produced with a specific backing already applied, so there is less to sew on yourself. If you have not ordered yet, our guides to Velcro patch backing, patch sizing and types of patches will help you pick before you buy, and you can see the full range of custom embroidered patches we produce.
Frequently Asked Questions
What’s the best stitch for sewing on a patch by hand?
A whip stitch is the right choice in most cases. Quick to learn, holds well, and the angled stitches vanish into a merrowed border — your work stays invisible. Backstitch if the garment takes a beating: work jackets, bags, vests. Want the stitching to show? Blanket stitch.
Can you sew on an iron-on patch?
Yes, and you should. The adhesive on a heat-seal patch is there to hold the patch still, not to keep it there forever — most give up somewhere around the tenth wash. Iron it down first so it can’t shift, then stitch the border. The glue does the holding while you work; the stitching is what keeps it on.
How do you sew a patch on without a sewing machine?
Hand sewing is the oldest way to sew on a patch, and it still works. Pin or glue the patch in place, then thread a sharp needle with polyester thread and whip stitch around the edge with the stitches about 1/8 inch (3 mm) apart. It takes maybe twenty minutes for a standard patch. On a sleeve or a hat, hand sewing isn’t the backup option anyway — it’s the only one that works.
Why do my patches keep falling off?
Usually the stitching sits too far inside the patch, leaving a loose edge, or the corners were skipped. Corners are where peeling starts, every time. Cotton thread is the other common cause — it absorbs water and abrades much faster than polyester, so the stitch line loosens cycle by cycle. Use polyester on anything that goes in the wash.
How do you sew a patch on a shirt without stitching the sleeve shut?
Keep your hand inside the sleeve. A sleeve is a closed tube, so it’s easy to catch the back layer without noticing — and you won’t find out until you try the shirt on and your arm won’t go through. Flatten the fabric over your palm so the patch sits on top of your hand. Every so often, give the sleeve a tug; if it still moves loose, you’re fine. If your hand won’t fit, like on a kid’s shirt or a tight cuff, use a rolled magazine or a tailor’s ham as a working form.
What needle and thread should I use for denim?
Denim needs a 100/16 denim needle and heavy-duty polyester thread. A universal needle will skip stitches, or snap on the patch border. Use a thimble — you’re pushing through two layers of denim plus the backing. And work around the thick seams. Don’t try to cross them.
Can you sew a patch over a hole?
Yes, though the hole needs prep first. Trim the frayed edges back to clean fabric. Then pin or fuse a backing piece of similar material to the inside, cut about 3/4 inch (2 cm) bigger than the hole on all sides. That backing is what the patch anchors into. Once it’s in place, backstitch the patch on top and let it overlap solid fabric by 1/2 inch is (1.3 cm).
How do I wash clothes with patches on them?
Wash patched garments inside out, on cold, and skip the dryer. Dryer heat does more damage than the wash ever will — it lifts iron-on edges and loosens stitching. One gentle cycle first, then back to normal rotation.
How are patches actually made?
Commercially, they’re stitched on multi-head embroidery machines that lay dense thread onto a twill base, then cut and finished with either a merrowed edge or a laser-cut one. At home it’s the same idea on a smaller scale — embroider or applique your design onto stiffened fabric, then edge it with a satin or blanket stitch so it can’t fray.
Is it worth sewing on patches myself if I have a lot of them?
That depends on how many. One or two is an evening’s work. Twenty scout badges or a club’s worth of vests is a weekend. That depends on how many. One or two is an evening’s work. Twenty scout badges or a club’s worth of vests is a weekend. If the order has not been placed yet, specify the backing in production: Velcro and sew-on-ready finishes cut the work on your end considerably.