


Every October, the same thing happens. Someone pulls out last year’s costume and thinks: this needs something. Custom Halloween patches are usually the answer. They go on in about five minutes, they’re affordable, and they can turn a plain denim jacket into the one everyone stops to look at. A hoodie, a trick-or-treat bag, a baseball cap, or a tote can take one too, and unlike paint or glitter, a good patch survives the wash.
This guide covers everything worth knowing — the types, how to attach them, which fabrics work, how to build a DIY patch jacket, and when it makes sense to order custom instead of buying off a shelf.
What Are Halloween Patches?
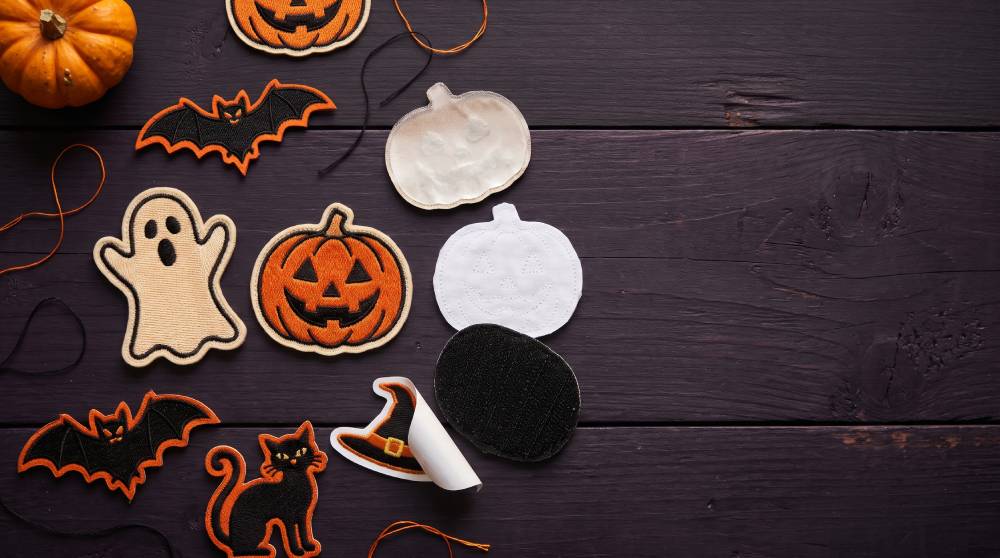
Halloween patches are small fabric emblems with spooky or seasonal designs — ghosts, pumpkins, bats, skeletons, black cats — that attach to clothing and bags. They come with iron-on, sew-on, or Velcro backing, and are used on costumes, denim jackets, hats, and treat bags.
Think of a patch as a thread-made sticker. A design is stitched, woven, or molded onto a backing material, and the edges are finished so they don’t fray. Then a backing is added so you can attach it — heat glue, plain fabric for sewing, or hook-and-loop.
No special craft skills are required.
Types of Halloween Patches
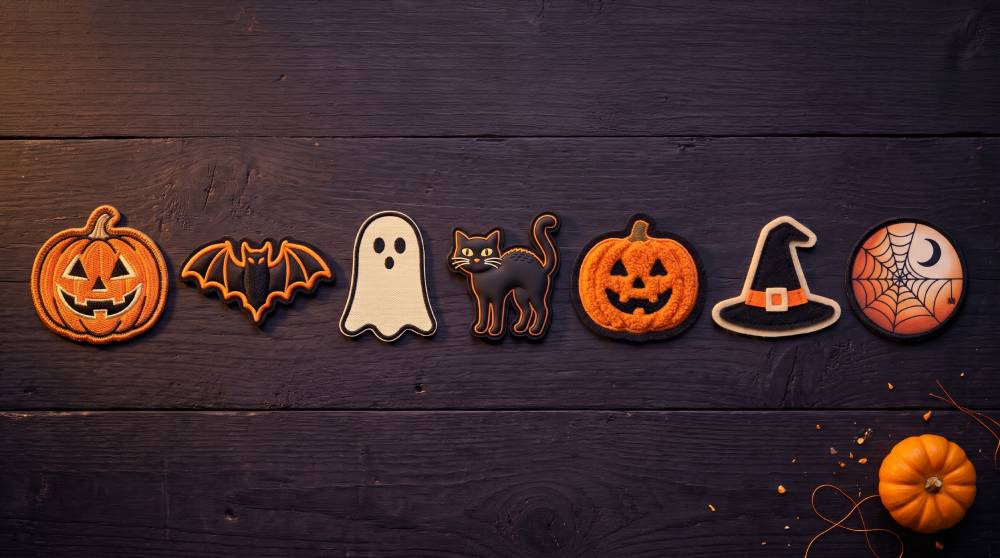
Not every patch is made the same way. The material changes how it looks, how it feels, and how long it lasts.
| Patch Type | How It Looks | Best For | Durability |
| Embroidered | Raised, textured thread | Classic ghosts, pumpkins, bats | Very high — survives years of washing |
| 3D Puff Embroidered | Thick, lifted lettering | Big bold words like “BOO” | Very high |
| Woven | Flat, smooth, fine detail | Small, detailed designs and tiny text | High |
| PVC (rubber) | Molded, slightly glossy | Glow-style or waterproof designs | Highest — waterproof |
| Chenille | Fuzzy, varsity-letter style | Retro jackets, letter patches | High (hand wash is safer) |
| Felt | Soft, flat, matte | Kids’ costumes, craft projects | Medium |
| Printed / Sublimated | Photo-like full color | Detailed artwork, gradients | Medium–high |
If you want one safe default: Halloween embroidered patches are the most popular for a reason. They look traditional, they hold up, and almost any Halloween design works in thread.
For bold lettering across the back of a jacket, Halloween letter patches spell out whatever you want — a name, a crew name, or just “SPOOKY.”
Best Halloween Patches: Top Designs to Pick This Season
The best Halloween patches are the ones people recognize in half a second — ghosts, jack-o’-lanterns, bats, skeletons, black cats, witch hats, spider webs, and bold “trick or treat” lettering. Simple shapes and high contrast always read better than busy artwork.
Here’s what actually works, and which patch type suits each one:
- Ghost — The easiest win. Simple white shape on a dark jacket. Embroidered or 3D PVC patches both look great.
- Jack-o’-lantern / pumpkin — Orange thread on denim is unbeatable. Embroidered.
- Bat — Small, cheap, and perfect for scattering several across a sleeve.
- Skeleton or skull — A Halloween back patch at 8–12 inches makes the strongest single statement on a jacket. Works well on biker-style vests too.
- Black cat — A favorite for tote bags and kids’ jackets.
- Witch hat — Small accent patch. Pairs well with a name patch underneath.
- Spider web — Best on shoulders and elbows, where the shape curves naturally.
- “Trick or Treat” lettering — Big impact on a treat bag. Letter or 3D puff patches.
- Cute / kid-friendly designs — Smiling pumpkins, friendly ghosts, candy corn. Felt and embroidery both work.
- Horror-style designs — Darker artwork for adults. Detail matters here, so woven or printed holds up better.
A small design tip: pick three to five designs that share a color family. Orange, black, and cream patches look like a plan. A jacket wearing every color at once just feels messy.
Iron-On vs Sew-On vs Velcro: Which Backing Should You Choose?
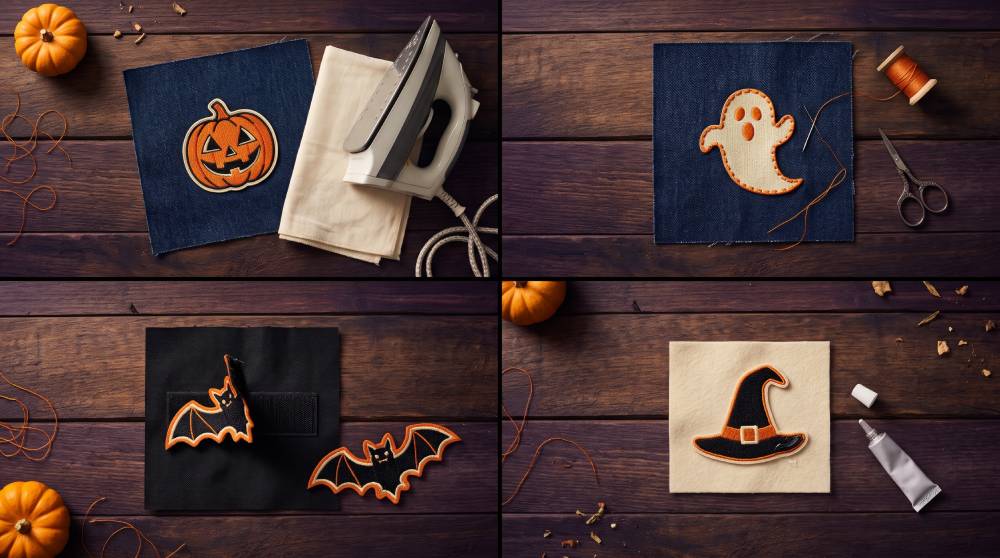
This is the decision most people get wrong. The patch itself matters less than how you attach it.
| Backing | How It Attaches | Best For | Removable? | Lasts |
| Iron-on | Heat melts a glue layer | Cotton shirts, denim, canvas bags | No | Years, if applied properly |
| Sew-on | Needle and thread | Jackets, uniforms, anything washed often | No | Longest of the three |
| Velcro (hook & loop) | Sticks to a loop panel | Costumes you change often, tactical gear | Yes | Years, swaps in seconds |
| Adhesive/glue | Fabric glue | Delicate or heat-sensitive fabric | No | Shortest |
Quick rule of thumb:
- Want it fast and easy? Iron-on.
- Want it permanent? Halloween sew-on patches — or iron one on first, then stitch the edge.
- Want to swap designs? A Halloween Velcro patch. Great for a costume you’ll reuse with different themes.
If you’re still weighing it up, this iron-on vs sew-on comparison goes deeper. And if you’d rather stitch, here’s how to sew on a patch three different ways.
Halloween Iron-On Transfers vs Iron-On Patches: What’s the Difference?
Plenty of shoppers type “Halloween iron-on transfers” and “iron-on patches” into the search bar like they mean the same thing. They don’t, and picking the wrong one is an easy way to end up with the wrong product.
A patch is an actual piece of fabric with a stitched or molded edge. Run a finger over it, and you’ll feel it sitting up off the jacket.
A transfer works differently. The design is printed on carrier paper or vinyl, and once you press it, the ink or vinyl melts into the shirt and goes flat. There’s nothing on top to feel.
| Feature | Iron-On Patch | Iron-On Transfer |
| Feel | Raised, textured | Flat, printed |
| Edges | Finished border | No border |
| Durability | Very high | Fades or cracks over time |
| Reusable | Can be re-pressed | No |
| Best for | Jackets, bags, hats | T-shirts, group tees |
Transfers are fine for a one-night group costume. Patches are what you keep.
How to Iron On a Halloween Patch (Step by Step)
Set the iron to match your fabric and warm the spot for about 10 seconds. Lay the patch down, put a thin cloth over it, and press hard for 45-60 seconds. Don’t slide the iron around. Then leave it alone until it’s fully cool.
What you’ll need: an iron with the steam off, a flat hard surface, and either a thin cotton cloth or a sheet of parchment paper.
- Check the garment label. If it shows an iron with a cross through it, stop — that fabric can’t take heat.
- Set your iron. Use the table below. Turn steam off completely. Steam keeps the glue from gripping, so it won’t hold.
- Spread the garment out flat. An ironing board works. A towel on a table works too. A soft bed or sofa does not — you need firm pressure.
- Warm the spot with the iron for about 10 seconds first.
- Position the patch glue-side down. Check it twice. Once the glue sets, it isn’t moving.
- Cover it with a thin cloth so the iron never touches the patch directly.
- Press down hard for 45–60 seconds. Push straight down — don’t slide the iron around.
- Flip the garment over and press the back side for another 20–30 seconds.
- Let it cool completely. This is the step everyone rushes. The glue only reaches full strength once cold.
- Test an edge gently. If a corner lifts, cover and press again for another 20 seconds.
In our shop, the single most common reason a patch lifts later is pressing on a soft surface instead of a hard one. A kitchen counter with a towel over it beats an ironing board for this.
Heat Settings by Fabric
| Fabric | Iron Setting | Approx. Temp | Press Time | Notes |
| Cotton | High / “Cotton” | ~350°F (177°C) | 45–60 sec | Easiest fabric. Very reliable. |
| Denim | High / “Cotton” | ~350°F (177°C) | 60 sec | Press both sides for best grip |
| Canvas / duck | High | ~350°F (177°C) | 60 sec | Thick weave — push harder. |
| Poly-cotton blend | Medium | ~300°F (148°C) | 25–35 sec | Always use a pressing cloth. |
| Polyester | Medium–low | ~275°F (135°C) | 20–30 sec | Scorches easily. Test a hidden corner first. |
| Fleece | Low–medium | ~250°F (121°C) | 15–20 sec | Can melt. Pressing cloth is a must. |
| Nylon | ❌ Don’t iron | N/A | N/A | Melts. Sew or use Velcro |
| Leather / faux leather | ❌ Don’t iron | N/A | N/A | Heat scorches it. See below. |
| Waterproof / coated fabric | ❌ Don’t iron | N/A | N/A | Coating damages. Sew instead. |
When You Shouldn’t Reach for the Iron
Three fabrics should never meet a hot iron: leather, nylon, and anything waterproof or coated. Leather is the big one, because leather jackets are exactly what people want to patch. The heat needed to melt patch glue is higher than leather can safely handle — you risk scorching, discoloring, or stiffening it permanently. There’s a proper method for it, and we’ve written it up separately: how to apply an iron-on leather patch.
For anything heat-sensitive, you have two safe options: sew the patch on, or use a proper fabric adhesive. If you go the glue route, choosing the right fabric glue matters more than people expect — the wrong glue soaks through and stains.
The DIY Halloween Patch Jacket
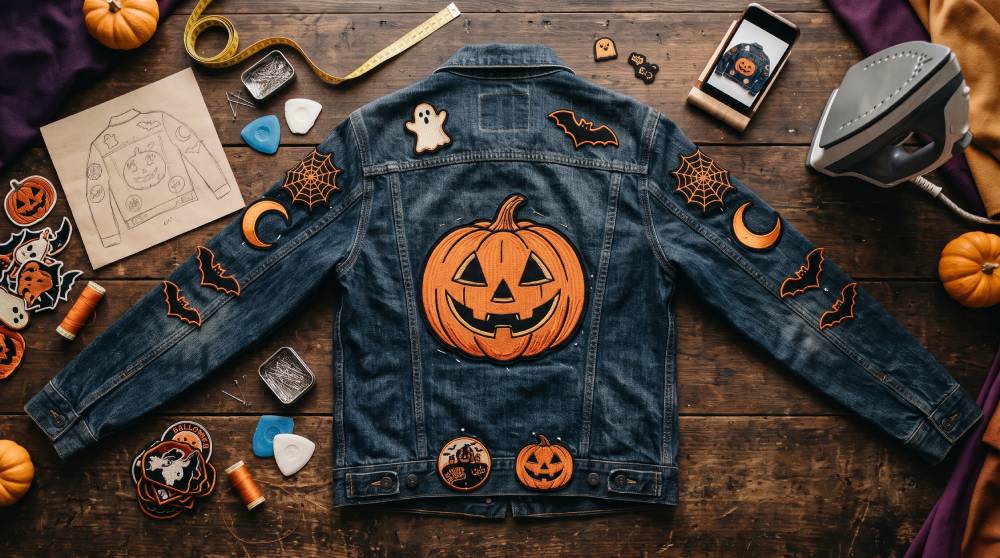
This is the project most people are really here for. A denim jacket covered in patches is the easiest Halloween outfit that doesn’t look like a costume — you can wear it all October.
Start with the jacket. Denim or canvas. Thrifted is perfect. Darker washes make orange and white patches pop.
Plan before you press. Lay every patch on the jacket first and take a photo. You will move things around three or four times. That’s normal.
| Placement | Patch Size | How Many | Works Best With |
| Center back | 8–12 inches | 1 | One bold design — skeleton, big pumpkin, lettering |
| Left chest | 2–3 inches | 1 | Small ghost, bat, or a name patch |
| Right chest | 2–3 inches | 1 | Balances the left side |
| Upper sleeves | 3–4 inches | 1–2 each | Spider webs, moons, stars |
| Forearms | 2–3 inches | 2–3 each | Small repeating shapes like bats |
| Collar / lapel | 1–2 inches | 1–2 | Tiny accent patches |
| Back hem | 3–5 inches | 1–2 | Fills space under the main back patch |
Order of work: big patches first, small ones last. The large back patch sets the balance for everything else.
A pro move: iron the patch on, then stitch around the edge by hand. Takes ten extra minutes per patch and the patch will outlive the jacket. For more on where things sit naturally, this guide on patch placement on clothes is worth a read.
Not sure what size to go with? The custom patch size guide breaks down sizing by garment.
Where Else Can You Use Them?
- Trick-or-treat bags — A canvas tote with a big patch beats a plastic bucket, and it lasts years.
- Hats and beanies — Halloween hat patches sit well on the front panel of a cap and are a quick win. Here’s the full guide to patches for hats.
- Hoodies — Chest or sleeve. Keep patches away from zips and seams.
- Costumes — Velcro patches let one costume become three.
- Backpacks — Sew-on only. Backpack fabric is usually nylon or coated.
- Group and team costumes — Matching patches for a whole office, class, or motorcycle club. Bulk orders make the per-piece cost drop fast.
- Patch collecting — Some people never attach them at all. If that’s you, here’s how to start a patch collection.
Store-Bought vs Custom-Made: What’s the Real Difference?
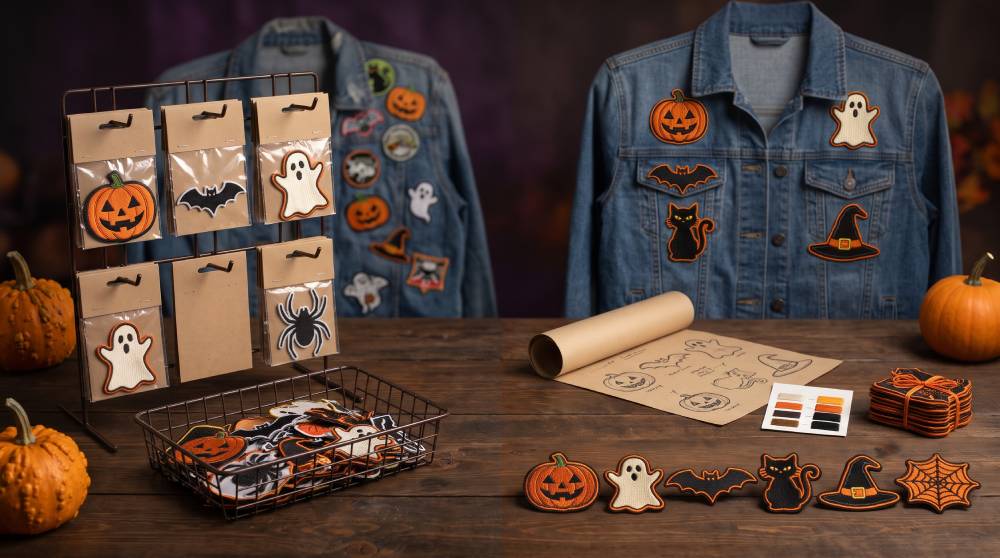
Craft chains and seasonal Halloween stores stock iron-on Halloween patches every October. They are cheap, and they are right there. So when is custom worth it?
| Feature | Store-Bought | Custom-Made |
| Design | Whatever’s left on the rack | Exactly your artwork |
| Size | Fixed | Any size you need |
| Quantity | Limited stock | As many as you need |
| Matching sets | Rarely possible | Standard |
| Availability | Gone by mid-October | Year-round |
| Lead time | Instant | A few business days |
Store-bought wins when you need one patch tonight. Custom wins for everything else — matching group costumes, a logo, a specific color, a size that fits a jacket back, or a design nobody else will be wearing.
Group orders are the most common Halloween request we see — offices, classrooms, and riding clubs ordering twenty to a hundred matching patches at a time.
Prices for custom patches start around $1–$5+ per patch for iron-on styles, and drop as quantity goes up. The full breakdown is in our custom patch cost guide.
A Note on Licensed Characters and Copyrighted Designs
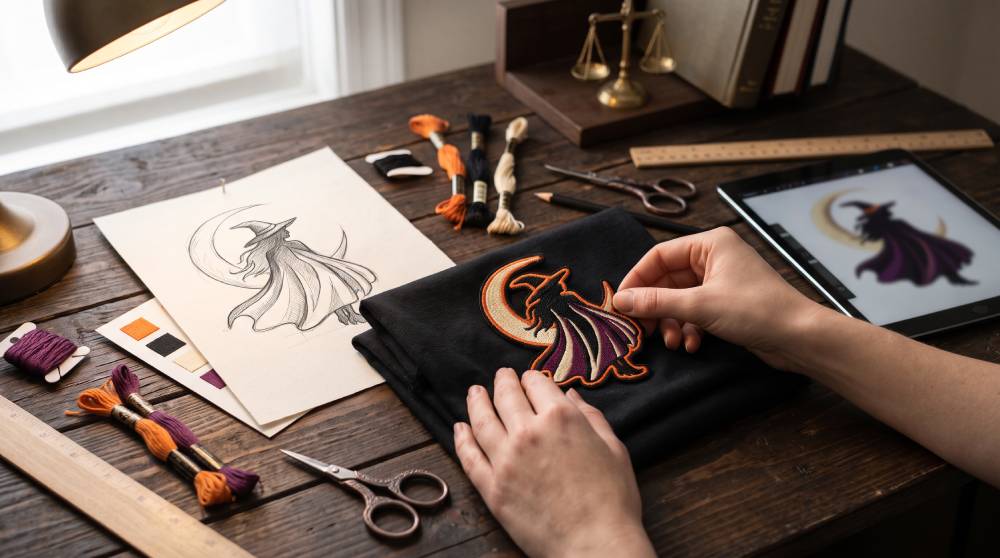
This comes up every single October, so let’s be direct about it.
A lot of people search for patches of specific movie characters, theme-park characters, and famous horror films. We don’t make those, and it’s worth understanding why before you order from anyone.
Those characters are protected by copyright. Under U.S. copyright law, the owner controls who may reproduce their artwork on merchandise. Making or selling an unlicensed version isn’t a grey area — it’s infringement, and the person who ordered them can be exposed too, especially for anything sold or used commercially.
What we do instead: original designs in the same spirit. Love a particular witch film’s look? We can design an original witch patch with your own colors, your own lettering, your own silhouette. It’s yours, nobody else has it, and it’s completely safe to sell or hand out.
If you own the artwork — your own logo, your own character, your own illustration — send it over. That’s never a problem.
We turn down a handful of licensed-character requests every October for this reason, and almost every customer ends up happier with the original design they get instead.
How to Care for Your Patches So They Last
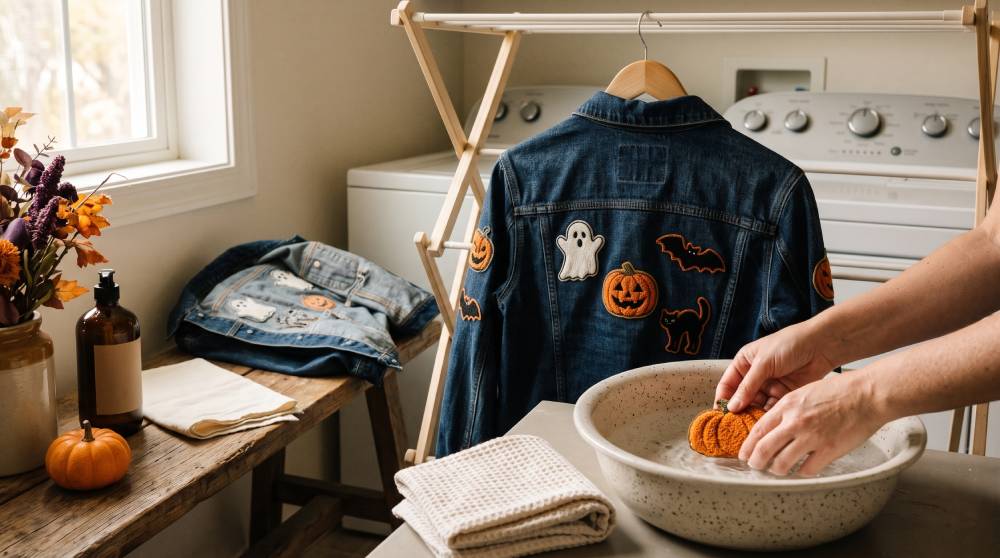
Don’t wash the garment right away. Give it a full day first. The glue keeps setting for a while after you iron, and washing too soon is how patches end up peeling. After that, flip it inside out before it goes in the machine.
- Wash it in cold water on a gentle cycle. Warm water can loosen the glue, and that’s where trouble starts.
- Try not to use the dryer. The heat and constant tumbling are what make corners curl up. Letting the garment air dry is easy, and it saves the patch.
- If you ever need to iron near a patch again, put a cloth over it first. Never press the iron straight onto it.
- Got a chenille patch? Wash it by hand, as a machine flattens that fuzzy pile.
- A corner that lifts isn’t a disaster. Cover it with a cloth, press for 20–30 seconds, and it usually settles back down.
How to Order Your Custom Design
The process is simpler than most people expect.
- Send your design — a sketch, a photo, a logo file, or just a description.
- Pick size, patch type, and backing (iron-on, sew-on, or Velcro).
- Approve the artwork — artwork approval usually takes 1–2 business days.
- Review a sample if you want one — sample production runs 1–3 business days.
- Production — 3–7 business days. Rush production is available in 24–72 hours.
- Shipping — 2–5 business days within the US.
Not sure what will look good in thread? The custom patch design guide covers file formats, colors, and which designs translate well.
Ready to Make Your Own Halloween Patches?
At Patches Studio, we make custom patches in embroidered, woven, PVC, chenille, felt, and leather — with iron-on, sew-on, or Velcro backing. Any size, any shape, any color. Original artwork only, designed around your idea.
Whether it’s one statement patch for a denim jacket or two hundred matching ones for a group costume, we’ll make it.
Get your free quote here — send your design, and we’ll come back with pricing and a mockup. No obligation.
Frequently Asked Questions
What are Halloween patches used for?
Mostly to give an old jacket a second life. A lot of people sew or press them onto a denim jacket, and some go on a hoodie or a pumpkin bucket. They’re also handy for group costumes. Everybody wears the same patch, and it just looks planned.
Do iron-on Halloween patches really stay on?
Mostly, yes. Honestly, the ones that peel off were rushed. Someone skimped on the heat or picked the shirt up too soon. Press it right onto cotton or denim, and it’ll likely outlast the jacket.
Is it okay to iron a patch onto leather?
We wouldn’t. Leather can’t take the heat a patch needs, so you can end up with a scorched mark that never comes out. Sewing is safer. Our leather patch guide shows how.
What’s the difference between an iron-on patch and an iron-on transfer?
A patch is a stitched piece of fabric with a finished edge, so it sits up off the shirt. A transfer is a printed film that flattens right into the cloth. Patches last longer. Transfers crack after enough washes, and it happens sooner than people expect.
Will washing ruin the patches on my jacket?
Not if you’re careful. Inside out, cold water, gentle cycle. We’d hang it to dry instead of using the dryer, since heat is what makes the corners curl.
What size patch should I pick?
Depends where it’s going. A jacket back can handle 8 to 12 inches, chest patches are usually 2 to 3, and sleeves 3 to 4. Can’t decide? Cut the shape from paper, pin it on, and look in the mirror. Free, and you’ll know right away.
Can I send in my own artwork?
Sure. A sketch on a napkin works, and so does a logo, a photo, or even a few lines describing what you want. We draw it up and send it to you before anything goes into production. You choose the size, shape, colors, patch type, and backing.
Do you make Disney, Hocus Pocus, or other movie character patches?
No, we don’t. Those characters are protected by copyright, so copying them without a license isn’t allowed. We can design something original with a similar spooky feel, and you can wear or sell that artwork.
How much do custom Halloween patches cost?
Iron-on patches usually land somewhere between $1 and $5 each. Bigger sizes or extra colors push that up, and larger orders bring it back down. Send us your design if you want an exact number.
How long does it take to get custom patches made?
Plan on 1 to 2 business days for artwork approval, 1 to 3 for a sample, and 3 to 7 for production, plus 2 to 5 for US shipping. In a hurry? Rush production in 24 to 72 hours is available.
Are patches safe to put on children’s Halloween costumes?
Usually, yes, as long as the fabric can take the attachment method. One more thing: the U.S. Consumer Product Safety Commission wants kids visible at night, so it suggests flame-resistant costumes with reflective trim. A pale patch on a dark costume helps there too.
What if I want to take a patch off later?
Not cleanly. Iron-on patches aren’t made to come off, and they usually leave glue behind. If you like a new design every year, go with Velcro backing. The patch swaps in seconds, and the garment is left alone.
What’s the best patch type for a Halloween jacket?
Embroidered, for most people. It’s tough, it looks classic, and it reads well from across a room. PVC makes more sense if the jacket will be out in the rain, and chenille if you want that retro varsity feel.
When should I place my order?
Try for August or early September. October is the busiest stretch for patch production, so ordering early avoids rush fees and leaves time to look at a sample before Halloween.