

Picture this. You send your running club’s logo off to be stitched, and on your phone it looks perfect. Then the custom patch shows up at three inches wide, and the club name is a thin, fuzzy line. Worse, the two blues in the logo have turned into one. The embroidery machine did its job just fine. The trouble started earlier, in the design file, and that’s where learning how to design a custom patch really begins.
Most patch redos come down to one of three things. The file was the wrong type, the colors didn’t work in thread, or the patch was too small for the detail it had to hold. That’s why this guide spends most of its time on file formats, colors, and size. Along the way, you’ll see how to design a custom patch from the first sketch to the final proof, including the border and backing choices most people never think about.
It doesn’t matter if you’re making one patch for a backpack or a few hundred for a company. Whether you want to create your own patch, add a custom logo patch to staff shirts or sell personalized patches online, the advice below works the same way.
How Do You Design a Custom Patch?
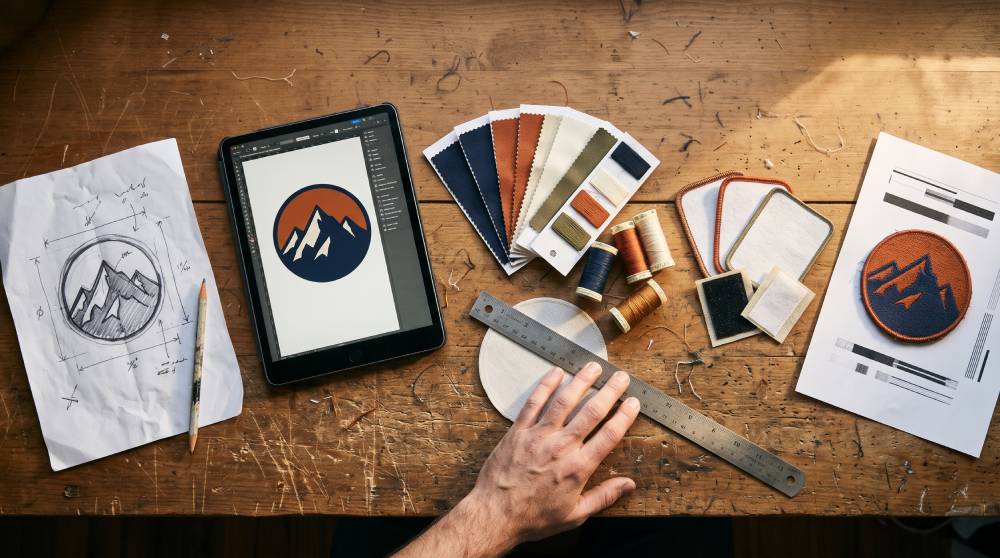
To design a custom patch, start with where it will be worn, since that sets the size and patch type. Keep the art to a few high-contrast colors, save it as an AI, EPS, PDF or SVG file, then choose a border and backing and check the proof.
- Choose the spot first: cap, sleeve, chest or jacket back.
- Go embroidered for most logos, or woven, PVC, chenille, or printed if your design calls for it.
- Measure the spot, then size up if your design has small text.
- Use three to seven colors, and keep dark shades next to light ones.
- Send an AI, EPS, PDF or SVG file, or a 300 DPI PNG if that’s all you have.
- Select a border and a backing.
- Check the proof, then place your order.
Decide Where You Will Use Your Custom Patch
Every good custom patch design starts with one simple question: where is this patch going to live? A custom patch for a jacket back is a completely different project from a small badge on the front of a cap. The size changes, the layout changes, and so does the amount of detail you can fit.
Washing matters too. A patch on a work shirt might go through the machine twice a week. One on a leather vest might never see water at all. And think about the purpose. Is it for a brand? A sports team? A one-time event? Plenty of people also order personalized custom patches as gifts.
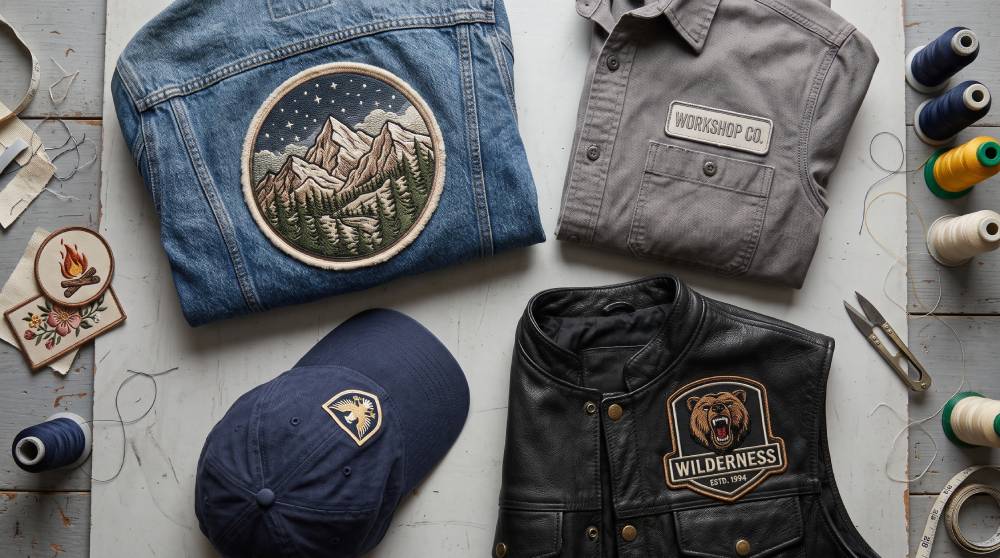
Custom shirt patches usually need to stay light and flexible so they bend with the fabric. Custom patches for jackets can be bigger and thicker, since jacket material can carry the weight.
If you’re ordering personalized business patches for employees, exact brand colors will probably be your top concern. A custom uniform patch for a security company or fire department is different again. Readability comes first, because the text has to stay clear after months of hard wear.
Choose the Right Type of Custom Patch
| Patch Type | Best For | Detail Level | Look and Feel |
| Embroidered | Logos, clubs, uniforms | Medium | Raised, textured thread |
| Woven | Small text, fine details | High | Flat, thin and smooth |
| PVC | Outdoor and tactical gear | High | Rubber-like, waterproof, 3D |
| Chenille | Varsity jackets, big letters | Low | Soft and fuzzy |
| Printed (sublimated) | Photos and gradients | Very high | Flat, full color |
The type you choose limits how much detail your patch can show. Here’s how the main options compare: Most of our customers go with a custom embroidered patch, and it’s easy to see why. The raised thread has a classic feel, and it holds up for years. Brands that want custom-made embroidery patches for hats and jackets almost always start here.
If you plan to design custom embroidered patches, keep the shapes chunky and simple. Thread is much thicker than a pen line, so very fine details just won’t survive.
Need small text? Woven patches are the better fit. Their thinner threads can show lettering that embroidery would blur. For a custom image patch, like a pet portrait or artwork with soft shading, a printed patch is the only option that really works.
For outdoor gear, PVC patches are hard to beat. They handle rain and sun with ease, which is why so many custom logo Velcro patches on backpacks and tactical vests are made from PVC.
What Size Should a Custom Patch Be?
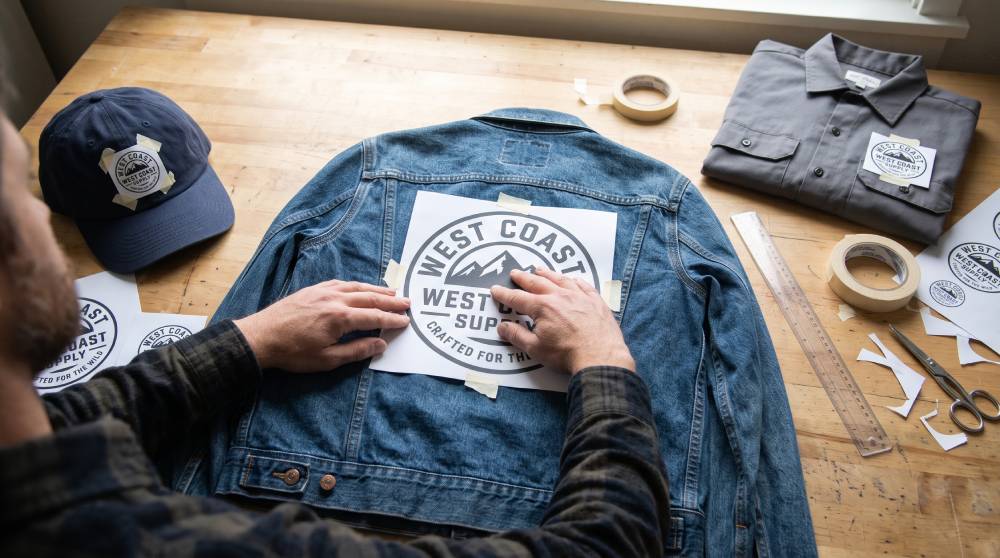
Most custom patches are 2 to 4 inches wide. Caps take 2 to 3 inches, shirt chests 2.5 to 3.5 inches, sleeves and jacket fronts 3 to 4 inches, and jacket backs 8 to 12 inches.
Get the size wrong and you’ll notice right away. The patch either swallows the front of a cap or looks like a postage stamp on a jacket, and the price shifts with it too.
Here’s a detail that catches a lot of buyers off guard: pricing is based on an average. Many manufacturers add the width and height together, then divide by two. So a patch that’s 3 inches wide and 2 inches tall is priced as a 2.5-inch patch.
These sizes are a good place to start, and our custom patch size guide goes deeper:
| Placement | Recommended Size |
| Hat or cap front | 2″ to 3″ wide |
| Shirt chest or pocket | 2.5″ to 3.5″ |
| Shirt or uniform sleeve | 3″ to 4″ |
| Jacket chest | 3″ to 4″ |
| Jacket back | 8″ to 12″ |
| Backpack or bag | 3″ to 5″ |
| Tactical or morale patch | 3″ x 2″ (common) |
On a shirt, the chest and the sleeve are the usual spots, which keeps most custom patches for shirts somewhere between 2.5 and 4 inches. Got a slogan under your logo? Then lean toward the bigger end. At 2 inches, that slogan may be nothing more than a smudge.
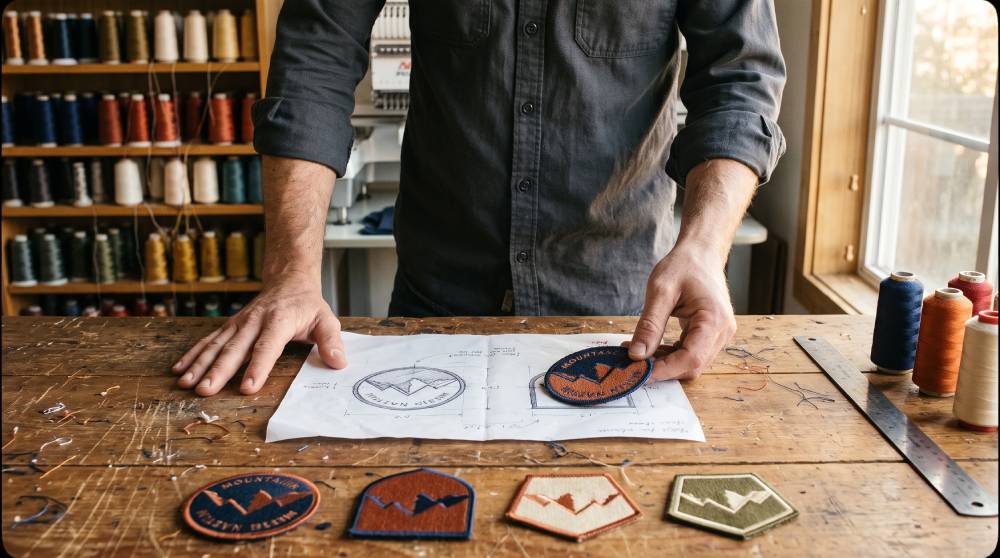
Here’s a quick test to run before you order custom patches. Print your design at the size you plan to order, then cut it out and tape it where the patch will go. Now step back about ten feet. If you can’t read the words from there, nobody else will either.
How Do You Choose Colors for a Custom Patch?
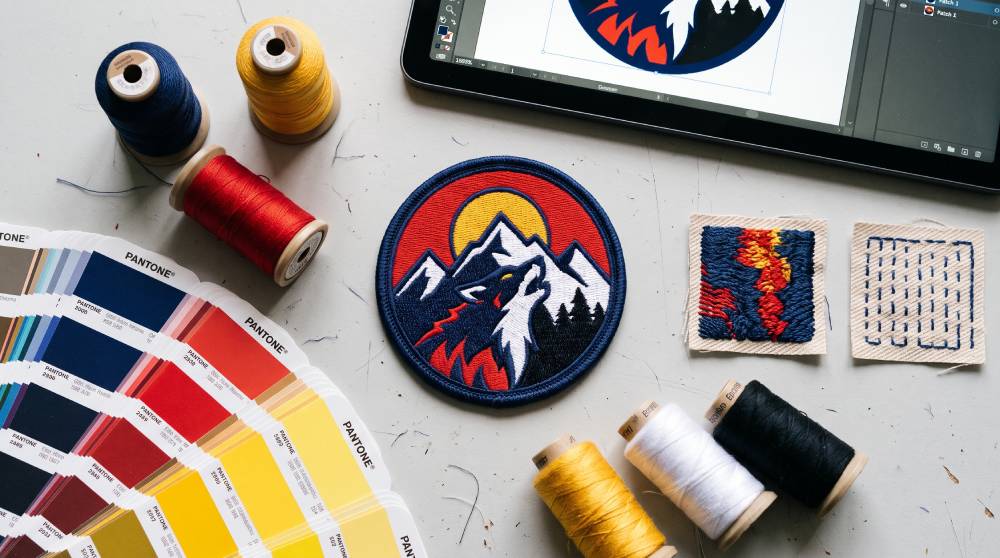
Choose three to seven high-contrast thread colors, send Pantone codes for any brand colors and avoid gradients on embroidered patches. Fewer, bolder colors keep the patch clean and the price lower.
Colors cause more redesigns than anything else. Something that pops on a bright screen can look dull once it’s stitched in thread. These tips will keep your customized patches looking crisp.
Fewer colors usually look better. Three to seven colors work well for most designs. On top of that, many shops quote a base price that covers around seven to nine thread colors, and each one past that limit may show up on your bill.
Think about contrast. Dark next to light reads well from across a room. Navy beside black, or yellow beside white, won’t. From a few feet away, those pairs blend into one color.
Use Pantone codes for brand colors. Your monitor shows color as light, while thread is dyed fiber. They’ll never match perfectly. If your brand has set colors, send the Pantone (PMS) codes and let the maker find the closest thread. This is especially important when you design custom patches for a company and the custom patch logo has to look identical on every hat, shirt, and bag. A customized patch that’s slightly off-brand can look cheap next to your other materials.
Skip gradients on embroidery. Thread can’t fade smoothly from one shade into another. If your design relies on shading, go with a printed patch instead.
Pick a coverage level. Embroidered patches are usually offered at 50%, 75%, or 100% stitch coverage. Below 100%, some of the twill fabric underneath shows through. That means fewer stitches and often a lower price. Full coverage costs more, but it gives the richest texture.
What File Format Is Best for a Custom Patch?
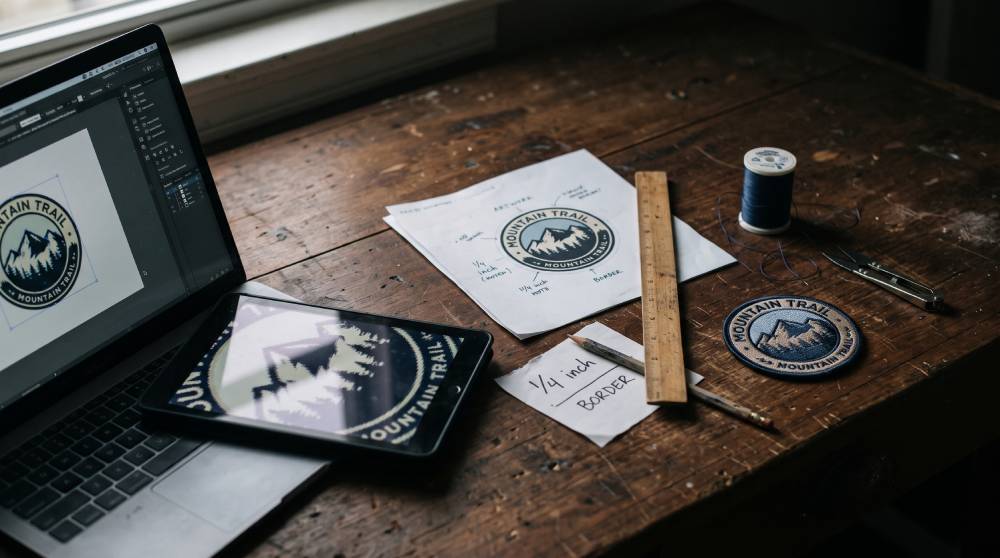
The best file format for a custom patch is a vector file, such as AI, EPS, SVG or a PDF exported from vector software. If you only have a regular image, send a 300 DPI PNG at the actual patch size.
Think of your artwork file as a blueprint. A clean one gives you clean stitches. A blurry one leaves the manufacturer guessing. If you want to create a custom patch that looks professional, or you’re learning how to design custom patch artwork for the first time, these are the formats to send:
| File Format | Type | Recommended? | Notes |
| AI (Adobe Illustrator) | Vector | Best | Scales to any size with sharp edges |
| EPS | Vector | Best | Opens in most design programs |
| Vector | Yes | Must be exported from vector software | |
| SVG | Vector | Yes | Common in online design tools |
| PNG | Raster | Okay | Use 300 DPI at actual size |
| JPG | Raster | Last choice | Edges can blur, so use the highest quality |
So why do vector files work best? They’re built from lines and shapes instead of pixels. You can stretch them to any size, and they stay sharp. A logo saved from a website is usually only a few hundred pixels wide. Stretch it to patch size, and you’ll see jagged, blurry edges on every letter.
A few numbers are worth remembering when you create a patch design:
- On embroidered patches, 1/4 inch (about 6 mm) is the smallest letter height that stays readable. Woven patches can go down to roughly 1/8 inch.
- Make every line at least 1 mm thick. Anything thinner may disappear in thread.
- Convert your fonts to outlines, or send the font files with your design.
- Remove tiny dots and hairline details, since thread can’t hold them.
Once your file arrives, companies that make custom embroidered patches turn it into a stitch file the machine can read. This step is called digitizing, and it’s one of the most important parts of custom patch making. The cleaner your file, the less the digitizer has to guess, and guessing is where small mistakes creep in. That’s true even if you only make custom patch designs for fun on weekends.
Choose a Border and Backing for Your Patch
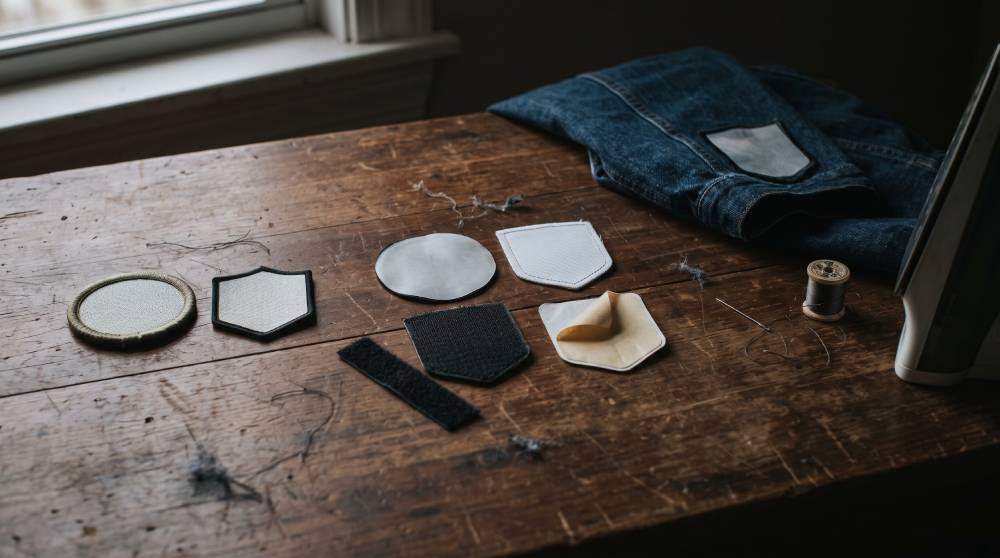
These two choices finish the patch. They affect how it looks, how long it lasts and how it attaches to fabric.
Border Options
The two main patch borders are merrowed and hot-cut. A merrowed border is a thick, rolled edge for simple shapes, while a hot-cut border is a sealed, laser-cut edge for custom shapes and sharp corners.
You’ve probably seen a merrowed border on scout and biker patches. The machine that sews it can only follow gentle curves, though, so it works best on circles, ovals, shields, and squares with rounded corners.
With a hot-cut (laser-cut) border, a laser or heated blade trims the patch right along your outline and seals the edge flat. If your patch has an unusual shape or sharp corners, this is the one to pick.
Backing Options
Sew-on backing lasts the longest, iron-on is the easiest to apply, hook and loop lets you swap patches, and adhesive works best for one-day events.
A great design won’t do much good if the patch falls off, so pick the backing for your custom patch for clothing with care.
| Backing | When to Use It | Things to Watch |
| Iron-on | When you want to put it on at home with a regular iron | Skip it on nylon, leather or anything that can scorch |
| Sew-on | For clothes you’ll wear and wash for years | Takes a few minutes with a needle, but it won’t peel |
| Hook and loop (Velcro) | For uniforms and tactical gear where patches get swapped | The loop side has to be sewn onto the garment first |
| Adhesive | For a one-day event, conference or trade show | Usually comes off after a wash or two |
Iron-on custom patches are a favorite because almost anyone can apply them with a household iron. On cotton and denim, custom iron-on patches hold up nicely. Still, if the item gets washed a lot, a few hand stitches around the edge will make the patch last much longer. Many customizable iron-on patches can also be ordered with a sew-on finish.
For the longest life, sewing wins. Custom sewn patches rarely peel, and they attach easily by hand or machine. That makes them a smart choice for personalized patches for clothes that get worn every day, like a work shirt or a denim jacket. A custom fabric patch with sew-on backing is also the safer choice for delicate fabrics that can’t handle heat. Our iron-on vs sew-on patches comparison covers both in more detail.
Patch Design Mistakes That Cost Time and Money
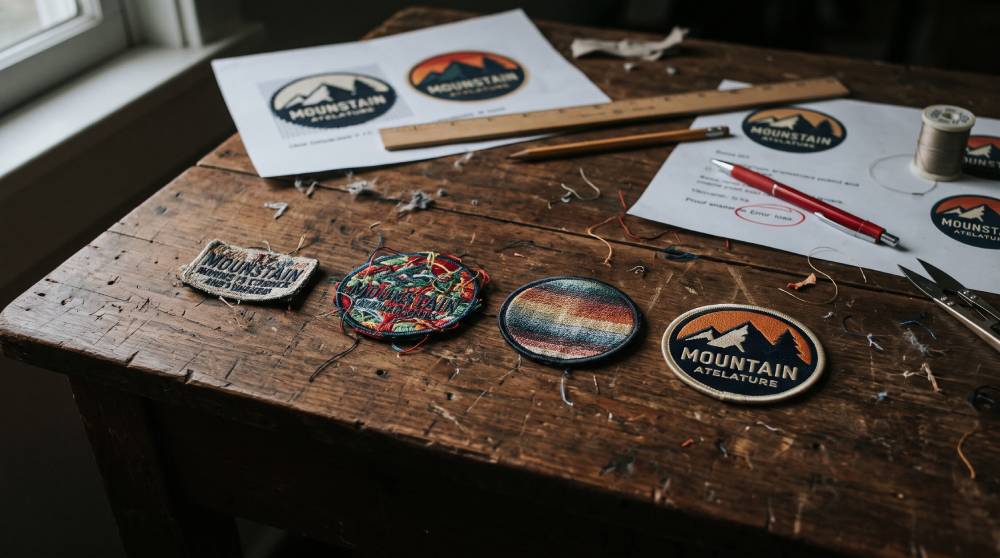
Even if you know how to design a custom patch, a strong idea can still turn into a patch you don’t want to wear. Usually, it’s because of one of these seven mistakes:
- Text that’s too small. Tiny letters fill in with thread and become unreadable.
- Too many colors. The patch looks busy, and the price goes up.
- Gradients on embroidery. Thread can’t blend shades, so the fade turns into stripes.
- Low-resolution images. A screenshot or a logo copied off a website rarely has enough pixels to stitch from.
- Thin outlines. Lines under 1 mm can vanish during stitching.
- The wrong size for the spot. A cap patch and a jacket back patch are very different jobs.
- Skipping the proof. One quick look can catch a typo before 500 patches are made.
Every time you make a custom patch, check your design against this list. Knowing how to make custom patches that last mostly comes down to avoiding these errors. Clean artwork, a sensible size, and a tight color plan will make them look professional every time.
Online Patch Creator vs. Professional Patch Designer
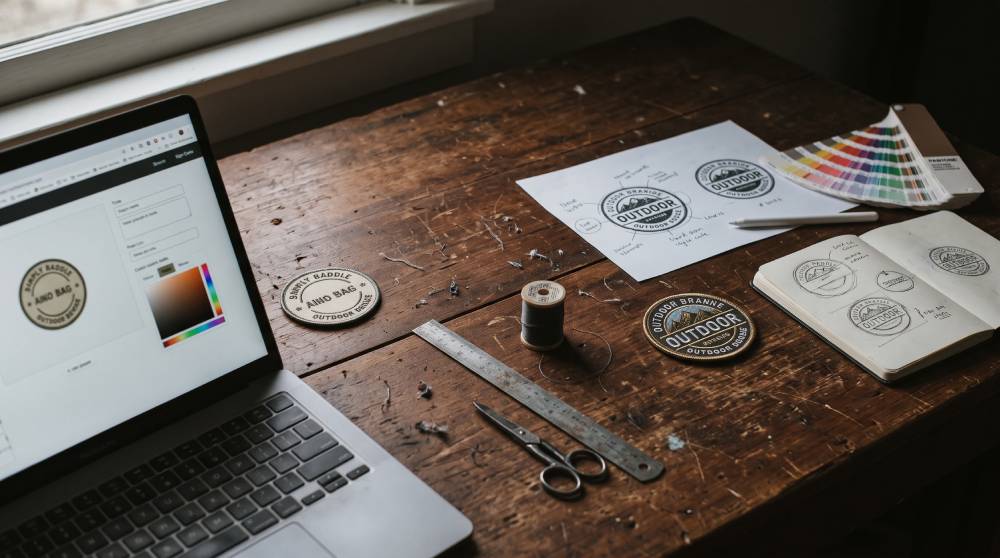
Should you design a patch yourself or pay someone to do it? Use an online patch creator for simple text and basic shapes. For detailed logos, exact brand colors or large orders, a professional patch designer is the better choice.
For simple designs, an online tool is quick. An online patch creator or patch customizer lets you pick a shape, type your text, and preview colors in a few minutes. A decent custom patch creator handles name tags, basic badges, and other small projects, which is why many people start with patch design online.
Some sites also sell customizable patches where the only thing you change is the wording. A few shops even have a custom patch designer online, so you can work right in your browser.
For anything detailed, talk to a real person. Patch designers who do this every day know which details thread can’t handle, and they’ll trim a crowded logo down without losing what people recognize. If your brand needs custom design patches for uniforms, merch, or an event, a skilled custom patch designer will save you a lot of trial and error. If you design patches often, it also helps to build a relationship with one team that knows your brand.
The good news is that most custom patch makers include design help with your order, so hiring a separate artist usually isn’t necessary. Whether you use an online tool or a designer, a reliable custom patch maker should look over your file and flag problems before a single stitch goes in.
Review Your Proof and Order Custom Patches
Before production starts, most manufacturers send a digital proof. It shows the final size, colors, border, and backing. Don’t rush this part. Once you sign off, whatever is on that screen gets stitched, mistakes and all.
Read every name and date letter by letter, since those are the easiest typos to miss. Then confirm the thread colors, the size in inches, the border style, and the backing.
Next comes quantity. Some makers will gladly produce single custom patches for a gift or a one-off project. Others are set up for bulk orders, where the price per patch drops as the order grows. If you only need a few, look for a shop that makes single custom embroidered patches without a high minimum.
You’ll find lots of custom patches for sale online, but not every company works the same way. Before you get patches made, look for a custom patch manufacturer that offers free proofs, clear pricing and real support. A good custom patch company will also tell you if part of your design won’t stitch well, before you pay for it. That kind of honesty saves money, and it’s the first thing to look for when you’re deciding where to get custom patches made.
When you’re ready, remember that you can custom order patches in almost any shape, size or color. There’s no reason to settle for a stock design if you already have an idea.
Have a design ready? Send it to Patches Studio and get a free quote. Not sure which patch type fits your artwork? Our experts are happy to help you choose.
Conclusion
Think back to that running club logo. The idea behind it was fine. What let it down was a file that was far too small, lettering that thread couldn’t hold, and two shades of blue so close together that the machine stitched them as one. Fix those three things, and the patch comes out sharp.
That’s what learning how to design a custom patch really comes down to. Most problems can be caught on paper, long before a machine stitches anything.
So begin with the spot where the patch will be worn. That one choice tells you which type to pick, how big to go and how many colors you can use. After that, send a vector file, match the backing to the fabric and read the proof slowly, word by word. Do this, and your custom
patches will still look good long after the first wash, whether you create custom patches for a business or just one for your own jacket.
If you have an idea ready, our team at Patches Studio can help you create custom embroidered patches that look exactly the way you pictured them. Send us your design for a free quote, and we’ll help you turn it into custom-made patches you’ll actually want to wear.
Frequently Asked Questions
What kind of file does a custom patch maker need from me?
A vector file works best. If someone designed your logo for you, they almost certainly have an AI, EPS, or SVG copy saved somewhere, and a PDF exported from Illustrator works too. Vector art is built from paths rather than pixels, so it keeps clean edges whether it’s stitched at 2 inches for a cap or blown up to 10 inches for a jacket back. If you don’t have one, a 300 DPI PNG at the size you’re ordering is usually fine. Please don’t send a logo saved from your website. It’s almost always too small, and the edges will come out rough.
How big should my custom patch be?
It depends on where it’s going. Most cap and pocket patches are 2 to 3.5 inches wide. Sleeves and jacket fronts usually take 3 to 4 inches, and a jacket back can go up to 12. Not sure? Print your design at full size, cut it out, and pin it in place. You’ll know in a few seconds if it looks right.
Is there a limit on colors for an embroidered patch?
There’s no hard rule. Still, once you go past seven colors, most designs start to look crowded. Price is the other catch. A lot of shops start adding charges somewhere around the seventh to ninth thread color, since each one is another spool the machine has to load. Look through your artwork for two shades that are nearly identical and merge them into one. Hardly anyone notices the change, and the finished patch looks tidier for it.
My logo has small text. Is that a problem for embroidery?
Yes, if the letters are under about 1/4 inch (6 mm) tall. At that size, the stitches get too close together, and letters like “e” and “a” start to close up. The easiest fix is to make the patch a little bigger. If the size can’t change, a woven patch is worth a look, because its finer thread can hold letters down to roughly 1/8 inch.
Can I design my own custom patches without design software?
Yes. Many patch shops have a free online tool where you can design your own custom patches and customize patch details like the shape, text, and thread colors. You can also send a photo of a pencil sketch, and a designer will redraw it for you. So you can make your own patch design with no training at all. It works the same whether you want to create custom patch artwork for your club or design your own embroidery patch for a jacket.
Can my company logo be turned into a patch?
Absolutely. Think a security company’s crest on team shirts or a café logo on staff aprons. All you need to send is the logo, ideally as an AI or EPS file, along with the Pantone codes from your brand guide if you have them. From there, a digitizer reworks the art so it suits thread: hairline strokes get thicker, and specks too tiny to stitch quietly disappear. Embroidery is the usual pick for uniforms, though woven makes more sense when the logo has fine text. Either way, nothing goes into production until you’ve seen a proof and signed off on it.
Woven or embroidered: which patch should I get?
In most cases, your artwork answers this one for you. Embroidery shines with bold shapes and big lettering, and that raised, slightly textured finish is hard to get any other way. Once you’re dealing with small words or thin lines, woven is the better match. Its thread is so much thinner that details that embroidery would blur stay easy to read.
Can a photo be made into a patch?
It can, just not with embroidery. Thread comes in solid colors only, so a portrait or a sunset ends up looking like a paint-by-numbers kit, with hard bands where the soft shading should be. Printing doesn’t have that limit. A printed patch can reproduce every shade in the photo, which is why it’s the standard choice for pet portraits and family pictures. A screenshot won’t be sharp enough, so send the largest, clearest copy of the photo you have.
Do sew-on patches really last longer than iron-on ones?
They do, and the difference shows most on clothes that go through the wash every week. Stitching a patch on takes a bit longer, but once it’s sewn down, there’s nothing to peel. Iron-on wins when you need the patch on in five minutes. A good middle ground, and one plenty of people swear by, is to iron the patch on first and then run a few stitches around the edge for extra hold.
Where can I get a patch made?
You can get a patch made online, at a local embroidery shop or sometimes at a print shop. When you’re comparing where to get a patch made, look for free proofs, clear prices, and real customer reviews. And if you’re wondering who makes custom patches in small numbers, check each shop’s minimum order before you upload your design.
Can I order just one patch?
Yes. A growing number of shops will now make a single custom-made patch. The price per piece will be higher, though. Digitizing and machine setup cost the same whether you order one patch or a hundred. If there’s a chance friends or teammates will ask for one later, putting them all in the same order now will save you money.
How can I get custom patches cheap without losing quality?
Use fewer colors and fewer stitches. Those two changes do more for the price than anything else, and they’re the smartest way to get custom patches cheap without the patch looking cheap. Asking for 50% or 75% stitch coverage instead of full coverage cuts the stitch count, and a plain shape like a circle costs less to cut than a custom outline. Quantity helps as well. If your team is going to need more patches next season anyway, ordering them in one go brings the price per piece down.
I need patches for an event. When should I order them?
The sooner the better, but three to four weeks before the event is a comfortable window. Most of that time goes to production, which tends to take somewhere between 7 and 15 business days once the proof is approved. Shipping then adds a few more days on top. If your date is closer than that, mention it before you place the order, since many shops can rush a job for an added fee.